Learning how to pack dishes for moving protects your kitchenware from damage during transport. This article covers important supplies, proper wrapping techniques for plates and glassware, box preparation methods, and when to consider professional help. You'll discover vertical packing strategies that prevent breakage, learn which materials work best for different dish types, and understand common mistakes that lead to shattered items.
Basic Packing Materials & Supplies for Moving Dishes
Start with dish pack boxes or double-walled moving boxes for dishes. These boxes have thicker walls than standard boxes and can handle 40-50 pounds of dishes without buckling. You'll need one dish pack for every two cabinets of dishes, though buying an extra helps.
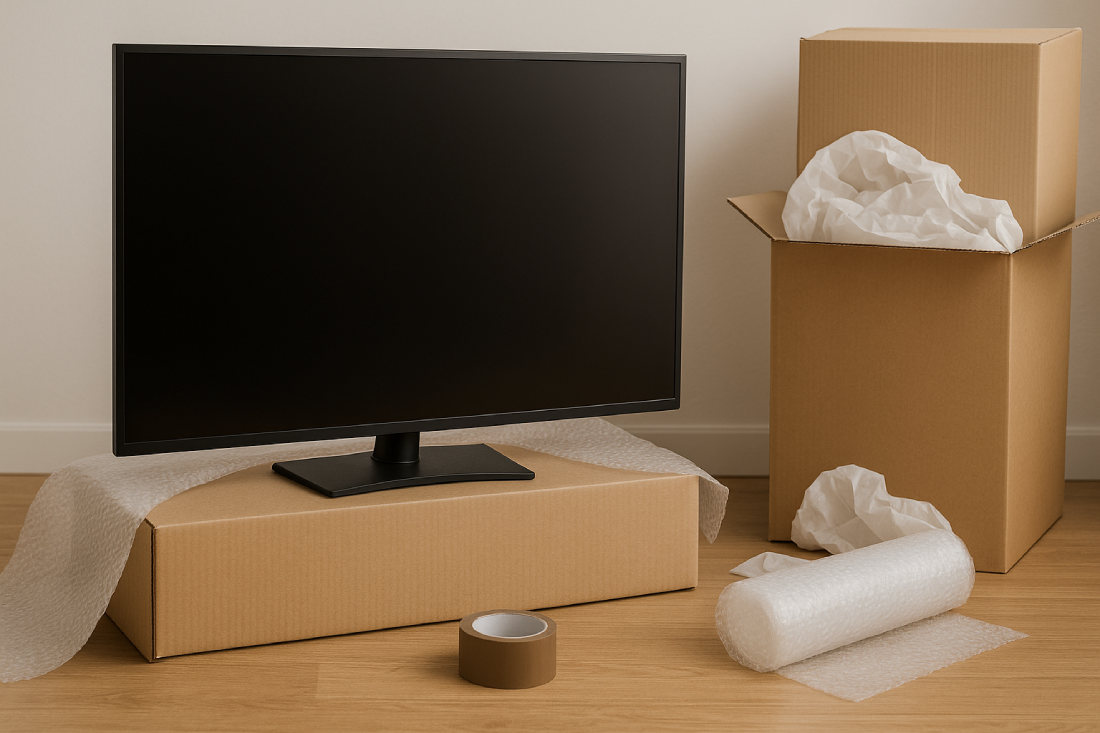
For wrapping materials, blank newsprint packing paper works best. Skip the actual newspaper since the ink transfers to dishes and requires washing everything at your destination. Plan on 5-10 pounds of packing paper for a typical kitchen, or get a glass packing kit with a moving box that includes pre-sized sheets and dividers. Bubble wrap works as backup protection for your grandmother's china or crystal stemware.
Basic supplies round out your toolkit:
- Heavy-duty packing tape (3 inches wide) for secure sealing
- Permanent markers for clear labeling
- Scissors or box cutter for precise cuts
- Cell dividers for glassware (cardboard inserts that create individual compartments)
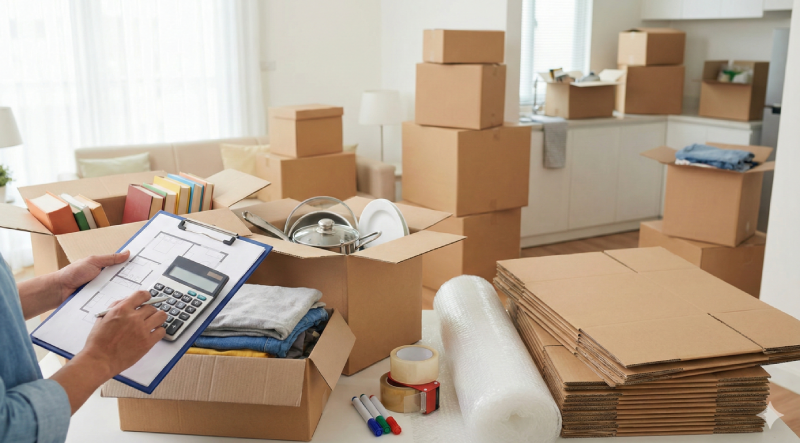
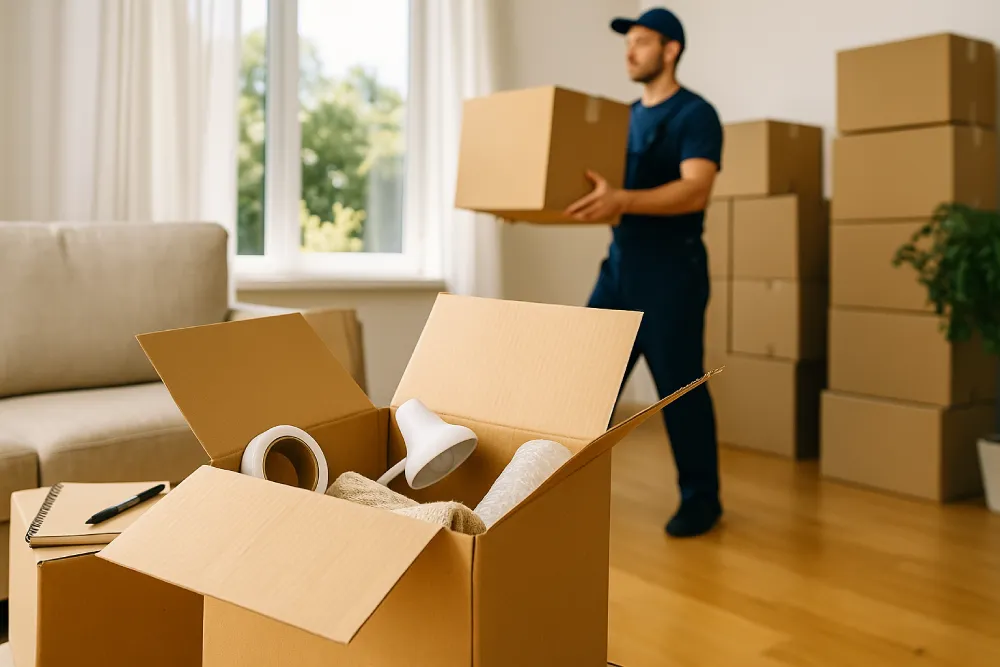
Preparing Your Dish Packing Workspace and Boxes
Setting up an efficient packing station saves hours and prevents the back pain that comes from hunching over boxes on the floor. Clear your dining table or kitchen counter and lay down a blanket to protect the surface and cushion dishes as you work.
Creating Your Packing Station
Position empty boxes on sturdy chairs or a second table at waist height. This setup lets you pack without constantly bending down, which matters when you're wrapping 50+ items. Keep all supplies within arm's reach and designate separate areas for wrapped items waiting to be boxed and completed boxes ready for taping.
Box Preparation Techniques
Before adding any dishes, reinforce each box bottom with the H-taping method. Run tape along the center seam, then add perpendicular strips on each side to form an "H" pattern. This technique distributes weight across multiple tape points and prevents bottom blowouts when boxes get lifted.
Create a cushion base by crumpling 5-6 sheets of packing paper into loose balls and covering the box bottom. This two-inch buffer absorbs shock during transport and gives dishes a soft landing if boxes get dropped. For extra protection in dish pack boxes, add a layer of bubble wrap over the paper base before starting your first layer of dishes.
How to Pack Plates, Bowls, and Platters
Plates break when they're packed flat because the weight of items above creates pressure across their widest, weakest point. Professional movers discovered decades ago that packing plates vertically, like records in a crate, distributes force along the strongest edge.
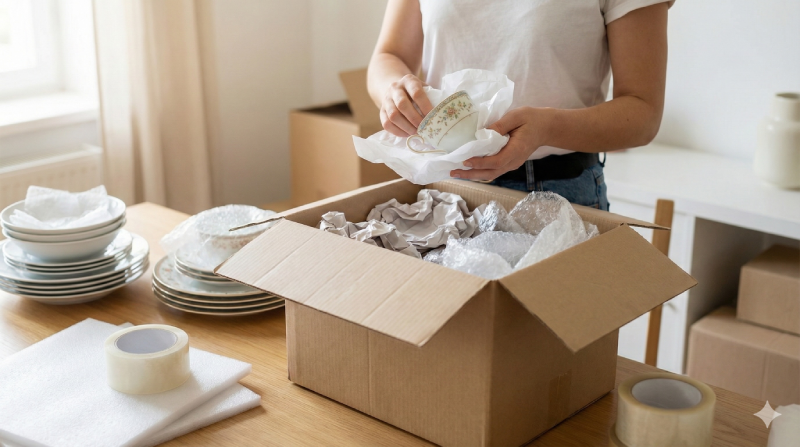
The Plate Wrapping Method
Start with your heaviest plates. Center one plate on a stack of 2-3 sheets of packing paper, then fold one corner over the plate surface. Roll the plate away from you, tucking in the sides as you go, until you've created a paper cocoon. Stack 3-4 wrapped plates together (never more than 5), then wrap the entire bundle in another 2-3 sheets for added protection.
Place bundled plates vertically in the box, standing on their edges like files in a cabinet. Pack them tightly enough that they won't shift, but not so tightly that you're forcing them in. Fill gaps between bundles with crumpled paper to prevent movement during transport.
Bowls and Platters
Bowls follow similar principles but with a nesting twist. Wrap each bowl individually, then nest 2-3 wrapped bowls inside each other based on size. This creates a protective shell system where each bowl cushions the others. Stand nested bowl sets on their edges in the box, never flat.
Large platters and serving dishes need individual attention. Wrap each one in 4-5 sheets of paper, adding bubble wrap for anything irreplaceable. These items often work best laid flat on top of vertically packed plates, creating a cap layer that won't crush under pressure.
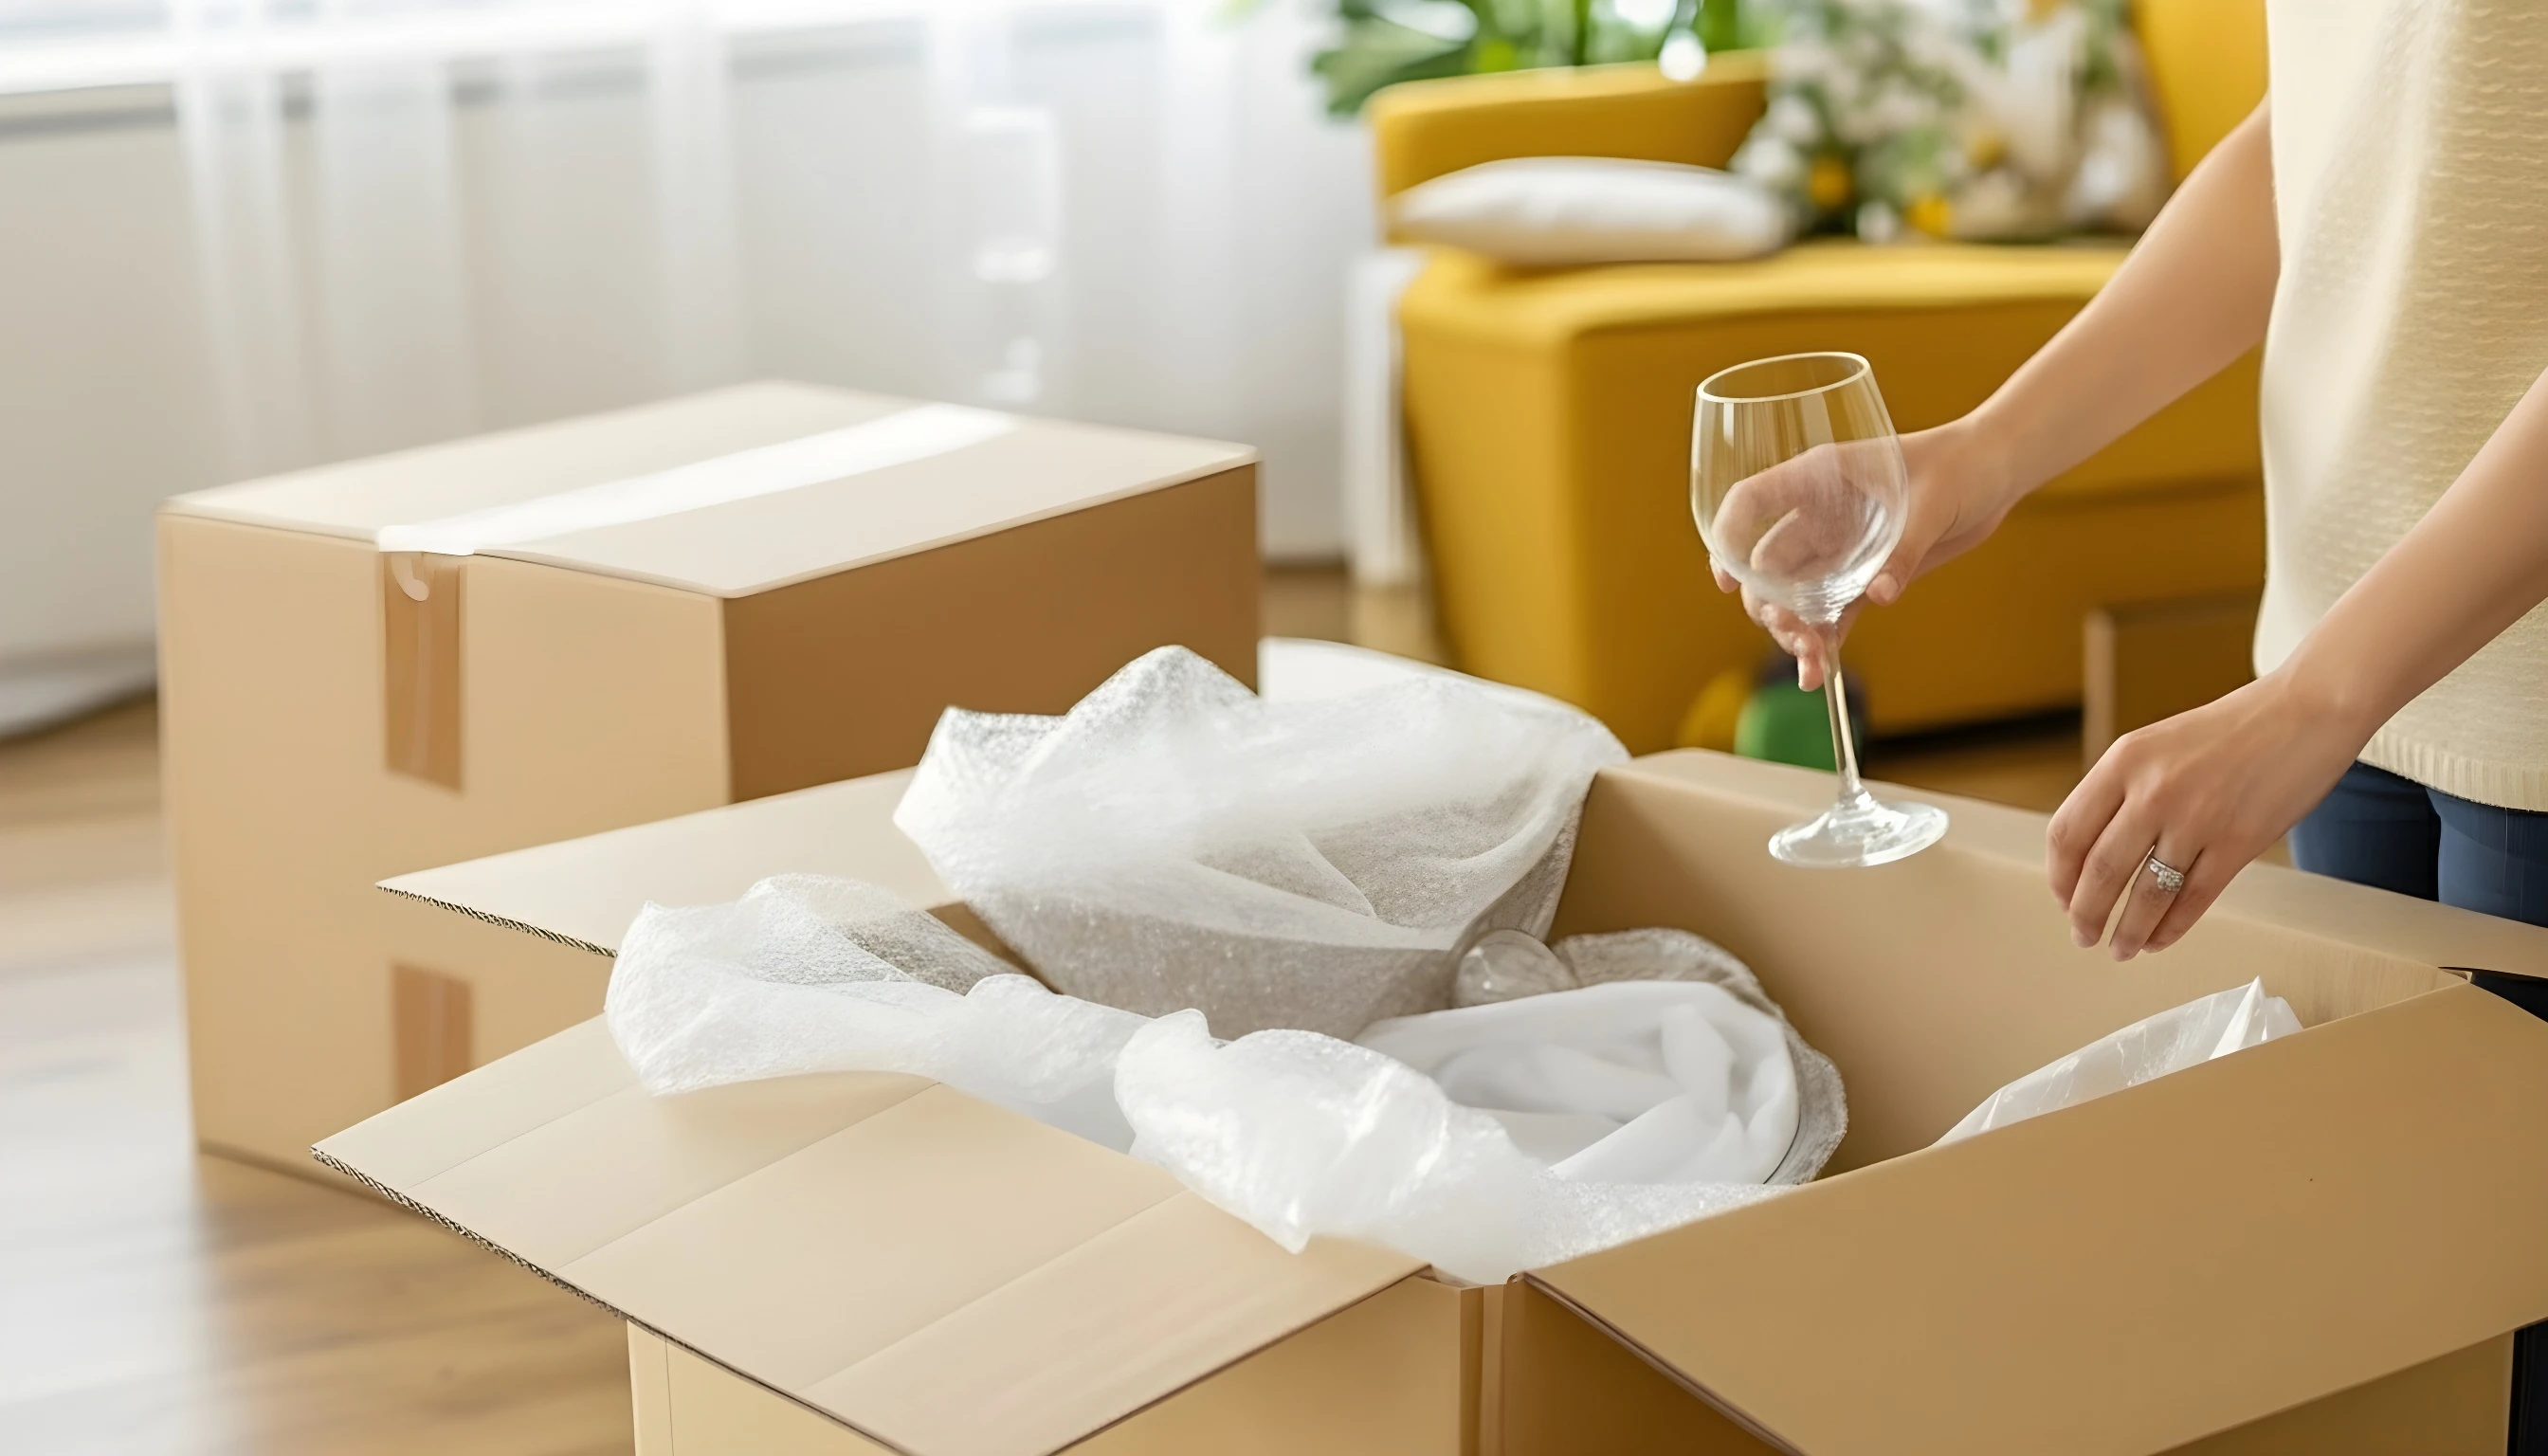
How to Pack Glasses, Mugs, and Stemware
Glassware demands more care than plates because of its irregular shapes and delicate parts. One wrapped wine glass takes up the space of three plates, but breaks twice as easily if packed wrong.
Protecting Different Glass Types
For standard drinking glasses, stuff the inside with crumpled paper first. This prevents the glass from collapsing inward if compressed. Wrap each glass in 2-3 sheets, paying extra attention to the rim where most chips occur.
Mugs need special attention to the handles, their weakest point. Stuff the interior, then wrap paper around the handle separately before wrapping the entire mug. Position mugs in boxes with handles facing the same direction to save space and reduce contact points.
Stemware and Crystal Care
Wine glasses and champagne flutes require the most protection in your entire kitchen. Wrap the bowl portion first, then wrap the spiral paper around the stem. For crystal or antique stemware, double-wrap everything and consider using foam sleeves or purchasing glassware packing boxes with built-in dividers. If you need more detailed guidance on protecting your most delicate glassware, our guide on how to pack wine glasses for a move covers advanced techniques for stemware protection.
Cell divider kits transform regular boxes into glassware fortresses. Each glass gets its own cardboard compartment, eliminating glass-to-glass contact entirely. While these kits cost $10-15 extra, they're worth it for protecting wedding china or collectible glassware. Position wrapped stemware vertically in cells, never sideways or upside down.
Packing Other Kitchen Items
Pots, pans, and small appliances seem sturdy enough to toss in boxes unwrapped, but their weight and metal surfaces can damage dishes if packed carelessly.
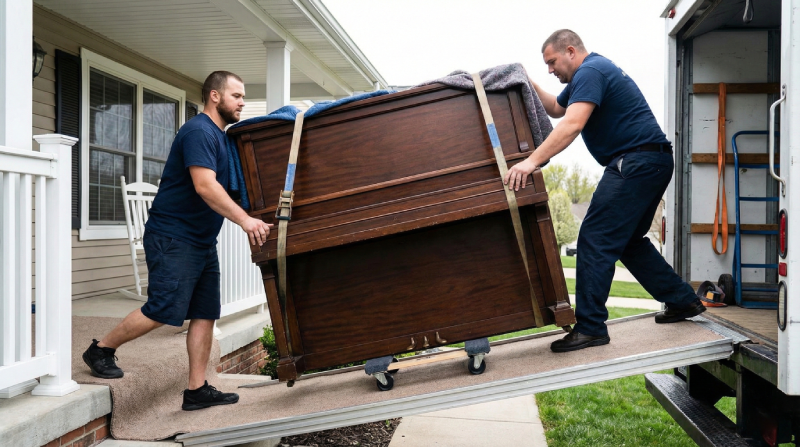
Pots and Pans Strategy
Nest pots and pans by size, placing paper between each piece to prevent scratching. Wrap glass lids separately and pack them vertically like plates. Cast-iron skillets need individual wrapping to prevent their weight from crushing other items. Pack your heaviest pots in separate boxes from dishes, or use them as a bottom layer with lighter items above.
Small Appliances
Your toaster, blender, and coffee maker need protection too, though not as much as dishes. Wrap each appliance in 2-3 sheets of paper or use kitchen towels you're already packing. Remove any glass components like blender jars or coffee pots and pack these with your other glassware. Secure loose parts like blender blades in zip-top bags taped to the main appliance so nothing gets lost.
Sealing, Labeling, and Loading Boxes with Dishes
Proper sealing and labeling transform packed boxes from potential disasters into organized units that arrive intact at your destination. While packing techniques protect dishes during transit, the final steps of reinforcement and clear marking determine whether boxes survive the loading process and whether you can find items quickly when unpacking. Here's how to seal boxes securely and create a labeling system that works:
- Reinforce box tops with H-taping plus edge strips. Apply the same H-pattern to box tops that you used on bottoms, then run vertical strips along all four edges for boxes over 30 pounds to create a reinforced cube that maintains structure even when stacked.
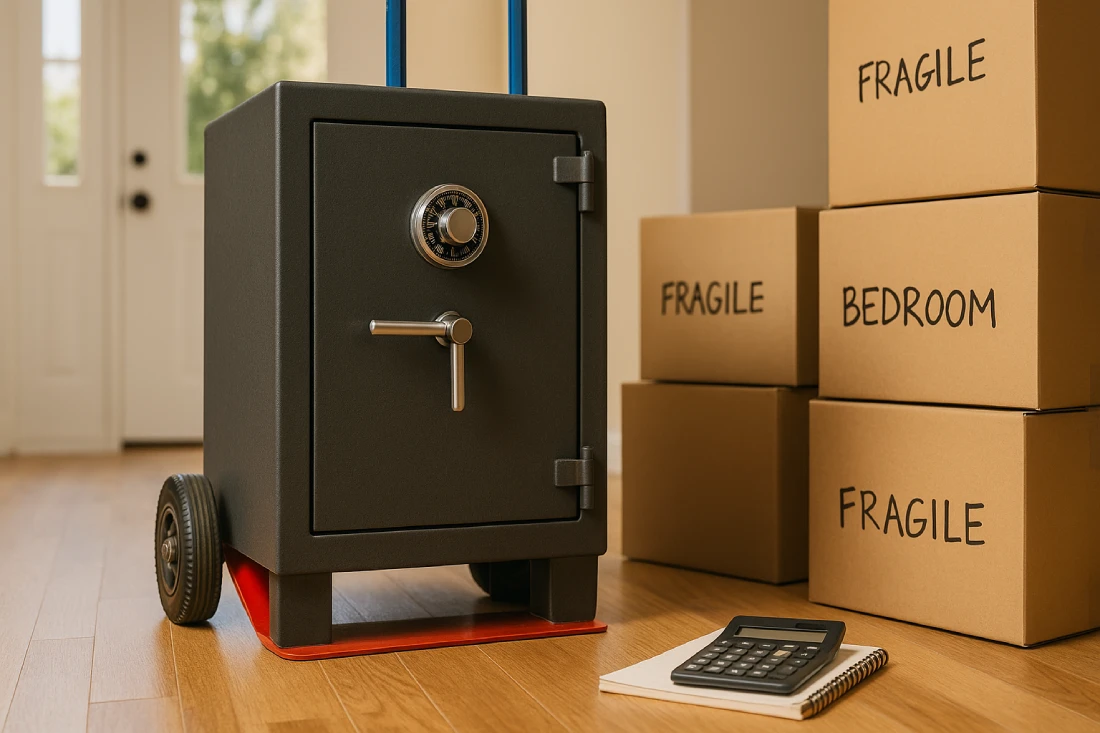
- Label every side with room destination and contents. Write "FRAGILE" and "THIS SIDE UP" in large letters on all box sides, then include specific contents like "Kitchen - Dinner Plates & Bowls" to help you unpack faster and avoid searching through 20 boxes for coffee mugs on your first morning.
- Number boxes and maintain a digital inventory. Assign each box a number and keep a master list on your phone noting valuable items, making it easy to track boxes during loading and identify any missing pieces at your destination.
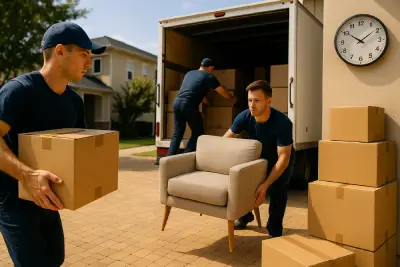
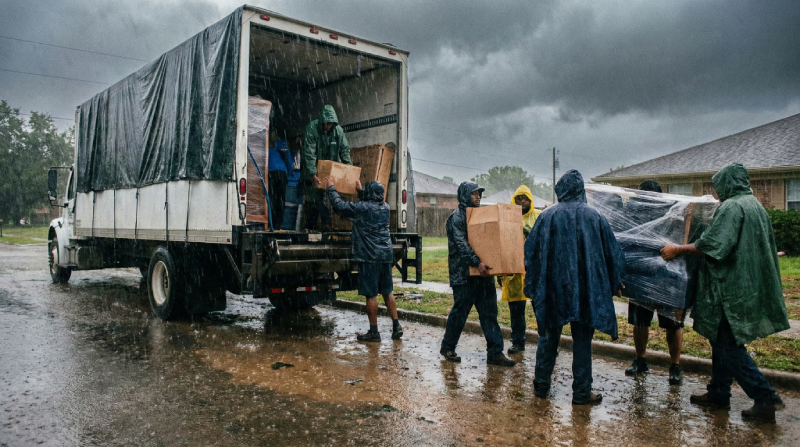
- Position dish boxes on the truck floor against walls. When loading your moving truck, place dish boxes on the truck floor (never on furniture), stack them like books on a shelf with heavier boxes on bottom, and secure everything with straps to prevent shifting during transit.
Common Dish Packing Mistakes to Avoid
Many dish-packing mistakes stem from overconfidence in makeshift solutions or rushing through the process without understanding how physics impacts fragile items during transport. The difference between arriving at your destination with intact dishes versus shattered pieces often comes down to avoiding a handful of preventable errors that seem minor in the moment but prove costly later. Here are the most common mistakes that lead to broken dishes and how to avoid them:
- Using towels or clothing as primary cushioning. While fabric items seem like economical packing materials, they compress under weight and shift during transport, leaving dishes vulnerable to impact at critical moments like sudden stops or bumpy roads.
- Overpacking boxes beyond their weight capacity. Boxes exceeding 40 pounds become difficult to carry safely and create excessive pressure that cracks bottom dishes, turning your cost-saving effort into an expensive replacement project.
- Leaving empty spaces that allow items to shift. Even small gaps between wrapped items become launching points during transit, allowing plates and glasses to collide with enough force to chip or shatter when the truck hits bumps or makes sharp turns.
- Mixing heavy cookware with delicate glassware. Combining cast-iron skillets with wine glasses or placing canned goods alongside china creates weight imbalances that crush fragile items. For more strategies on avoiding common mistakes, check out our list of moving hacks that can save time and prevent damage.
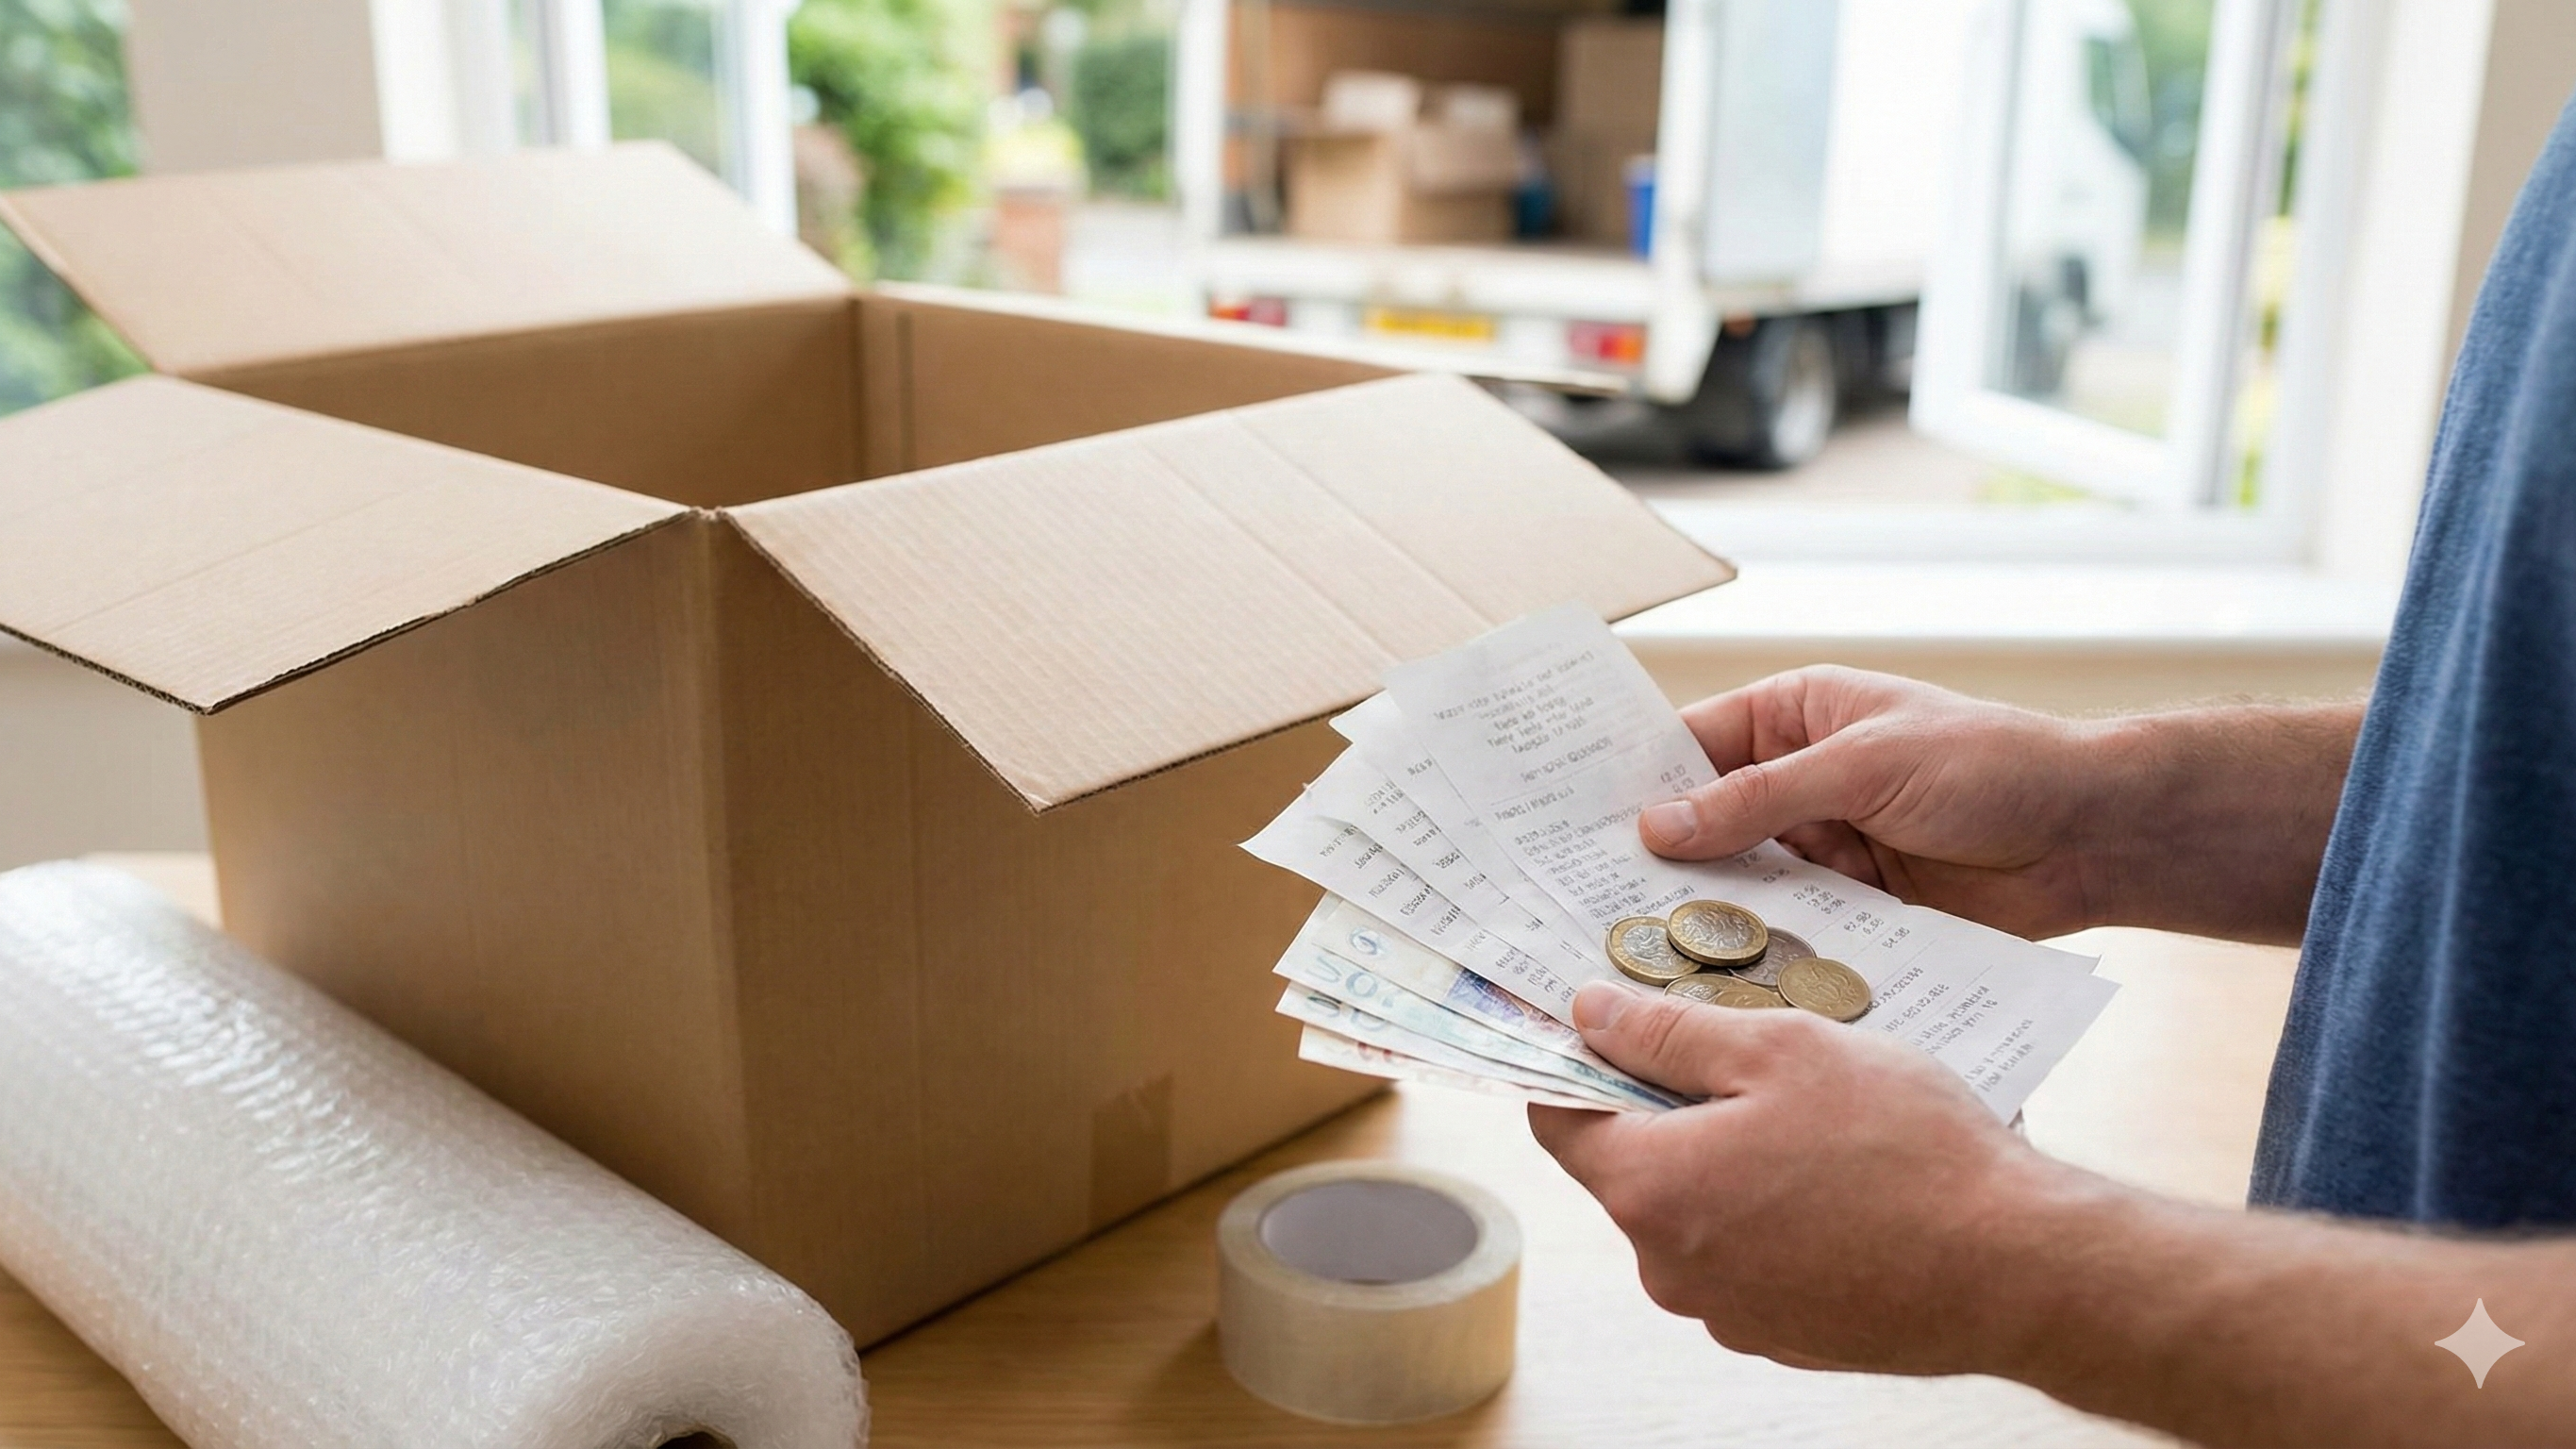
DIY Vs. Professional Packing: Cost and Time Comparison
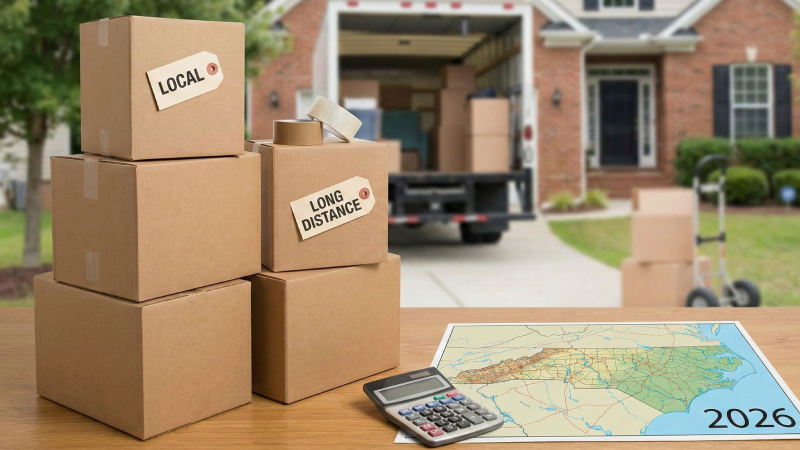
Packing dishes yourself costs $50-100 in supplies for an average kitchen and takes 3-5 hours for one person. Add another hour if you're learning techniques as you go. The process goes faster with a partner. If you're on a tight schedule, learning one-day packing and moving techniques can help you prevent breakage.
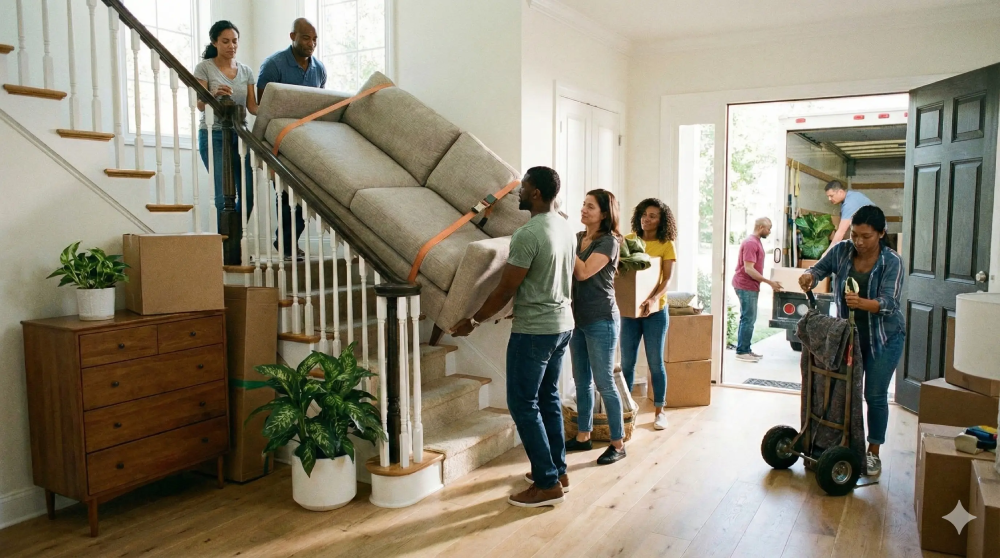
Professional Dish Packing Services
Professional dish packing services typically cost $150-250 for an average kitchen, including labor and materials. A two-person team usually completes the job in 2-3 hours. These services bring specialized knowledge from packing thousands of kitchens, commercial-grade supplies, and insurance coverage that protects items during the packing process.
The decision between DIY and professional packing depends on three factors: the value of your dishes, your available time before moving day, and your physical ability to safely pack heavy boxes. Here's what to consider:
- Professional packers typically charge $30-50 per hour per person. Most companies send two-person teams who complete average kitchens in 2-3 hours. They bring commercial-grade supplies and packing techniques developed from experience. Their insurance coverage protects items if damage occurs during the packing process. Breakage rates with professional packing typically run under 2%, compared to 8-12% damage rates in DIY moves.
- Hybrid packing can work for mixed kitchen collections. You can pack everyday dishes yourself, then hire professionals for a targeted 1-2 hour session to handle valuable china, crystal stemware, or antique serving pieces that would be expensive to replace if damaged.
- Labor-only moving companies offer packing services by the hour. These companies let you add packing help as a service without committing to whole-house packing, which can cost $500-1,000 or more. You can hire them for specific items that need professional attention.
- Physical limitations and tight timelines favor professional help. The repetitive bending, lifting of 40-pound boxes, and 3-5 hours of standing required for DIY dish packing becomes impractical for anyone with back issues, mobility concerns, or only 24-48 hours before moving day.
Master the Art of Safe Dish Packing for Your Move
Vertical packing on edges, not flat stacking, is what separates professional movers from amateurs. This single technique prevents most breakage. Combined with dish-specific boxes and gap filling, you'll protect what matters while saving on replacement costs. Our North Carolina moving help service specializes in the careful handling of packed and fragile items during loading and transportation. We also serve the Raleigh area.
Frequently Asked Questions
Should I hire professionals just for packing my valuable dishes?
Yes, if you own antique china, crystal, or irreplaceable family heirlooms. Professional packers typically charge $60-90 to pack these items with insurance coverage included.
What's the main difference between dish pack boxes and regular moving boxes?
Dish pack boxes have double-corrugated walls that are 30% thicker than standard boxes. They're specifically designed to hold 40-50 pounds of fragile items without crushing.
Can I safely mix dishes with other kitchen items in the same box?
Only if you pack dishes on top and lighter items like plastic storage containers below. Never mix dishes with canned goods or small appliances in the same layer.
How does professional packing cost compare to DIY?
DIY costs $50-100 in supplies plus your time. Professionals charge $150-250, including labor and materials, but complete the job in half the time with insurance protection.
What insurance covers dishes if they break during moving?
Basic carrier liability covers $0.60 per pound, which barely covers replacement costs. Full-value protection or third-party insurance provides actual replacement value for broken items.
How many dish pack boxes will I need for an average kitchen?
Most kitchens require 3-5 dish pack boxes. Estimate one box per two cabinets of dishes, plus an extra for glassware and serving pieces.


.webp)