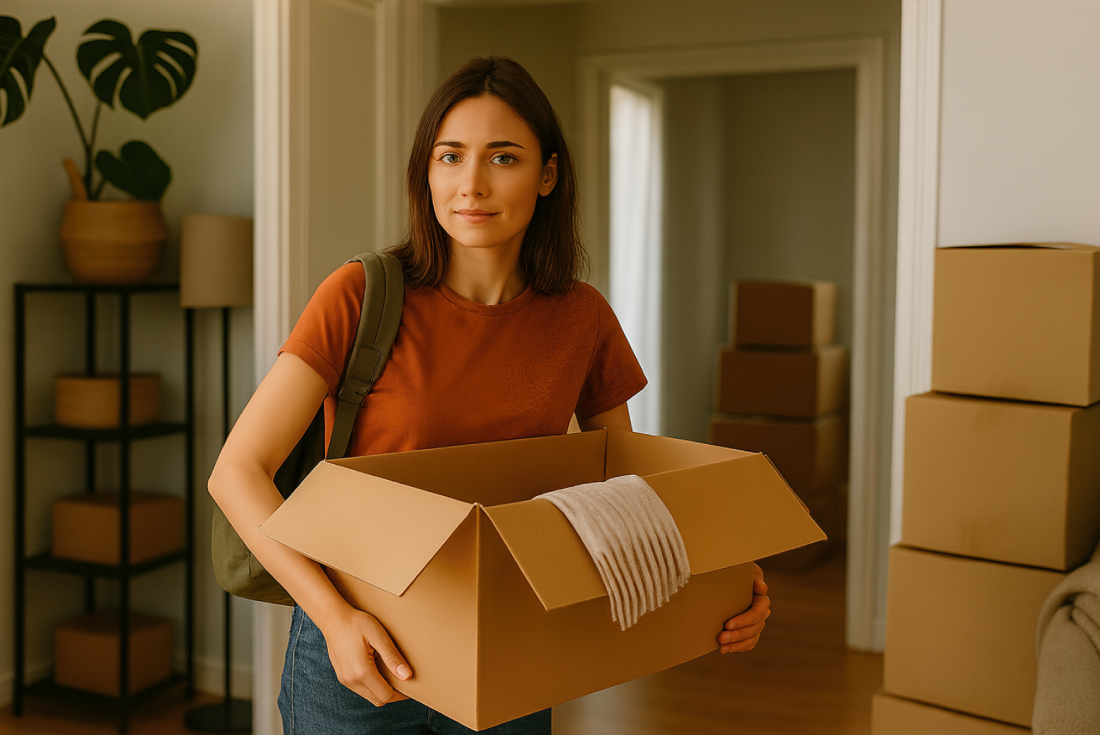
Moving shoes safely requires proper cleaning, strategic stuffing, and careful box organization to prevent damage like crushed shapes, cracked leather, and costly replacements. This guide covers practical packing methods for every shoe type, supply recommendations, and techniques that protect your footwear during transport, from DIY moves to professional help.
Why Proper Shoe Packing Matters for Your Move
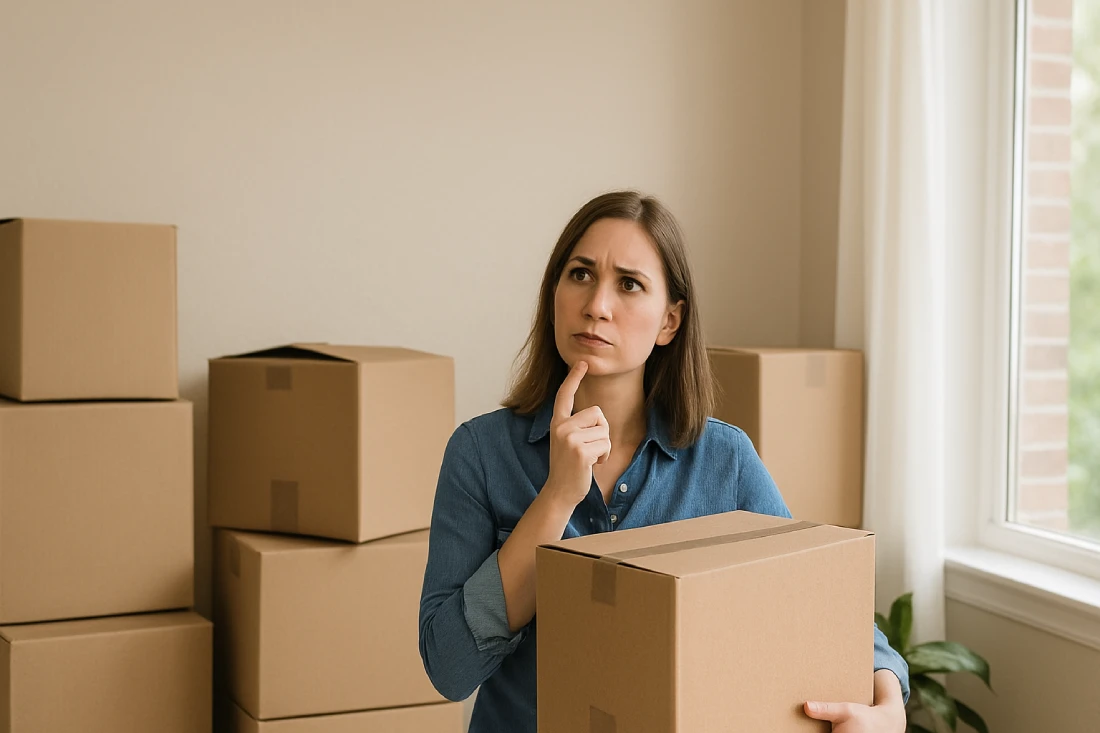
Moving damages more shoes than people realize. A single crushed heel or water-stained leather boot can cost hundreds to replace.
Your shoe collection represents a significant investment. Work boots average $150, running shoes hit $120, and dress shoes often exceed $200 per pair. When you multiply that across your entire collection, the replacement value quickly reaches thousands of dollars.
Beyond financial considerations, many shoes hold personal value that money can't replace. Wedding shoes, broken-in hiking boots, or that perfect pair of heels you searched months to find deserve protection during your move.
Professional movers report that improperly packed shoes rank among the most commonly damaged items, right behind dishes and electronics. Shoe damage is preventable with the right packing approach.
During transport, your shoes face three main threats:
- Temperature changes that cause leather to crack and glue to separate
- Moisture exposure that leads to material damage and odor absorption
- Pressure from improper packing that crushes shapes and breaks structural elements
Packing shoes properly saves money, preserves memories, and eliminates the hassle of replacing damaged footwear after your move.
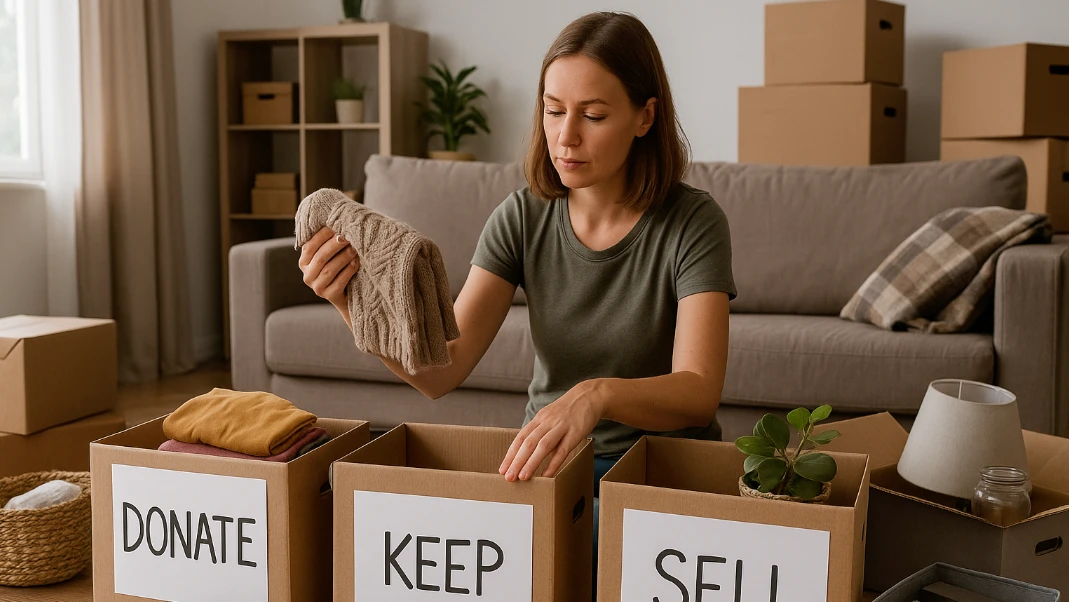
Declutter Your Shoe Collection Before Moving
Start your shoe packing process by reducing what you need to move. Pull every pair from closets, under beds, and storage areas for honest evaluation. Try on shoes you haven't worn recently. Feet change over time, and those once-comfortable loafers might now cause blisters. Check soles for excessive wear, inspect for irreparable damage, and test zippers and buckles for functionality.
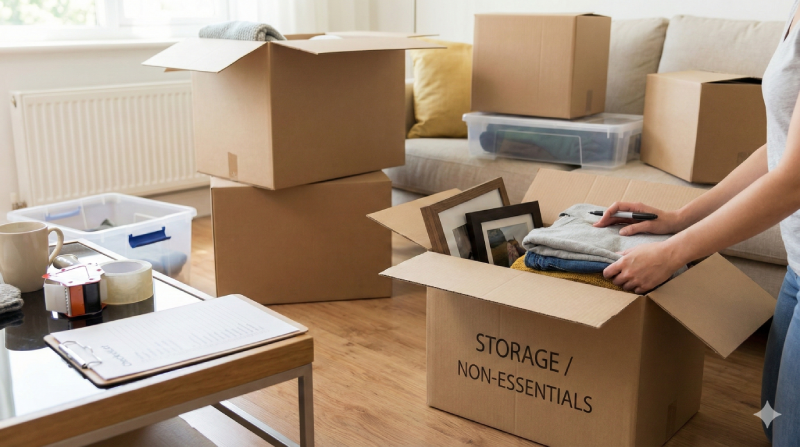
Create three distinct piles: keep, donate, and trash. Keep shoes you've worn in the past six months, special occasion footwear in good condition, and any pairs with specific purposes like work boots or athletic shoes. Donate gently worn shoes that no longer fit your lifestyle, duplicate styles you never choose, and impulse purchases with tags still attached. Trash shoes with holes, broken heels, missing pairs, or severe odor issues that cleaning won't fix.
How Decluttering Saves Money on Moving Costs
Every pound matters when moving, especially for long-distance relocations where companies charge by weight. The average pair of shoes weighs 2-3 pounds, meaning 20 unnecessary pairs add 40-60 pounds to your load.
At typical rates of $0.50-$1.00 per pound for cross-country moves, decluttering saves real money. Local moves benefit, too. Fewer boxes mean smaller trucks and shorter loading times.
Consider selling valuable shoes before moving rather than risking damage during transport. Designer shoes, limited edition sneakers, and vintage boots often fetch good prices on resale platforms. Use that money to offset moving expenses or replace worn everyday shoes at your destination.
A decluttering checklist before moving helps you schedule donation pickups the week before moving day to avoid last-minute decisions that lead to keeping unnecessary items.
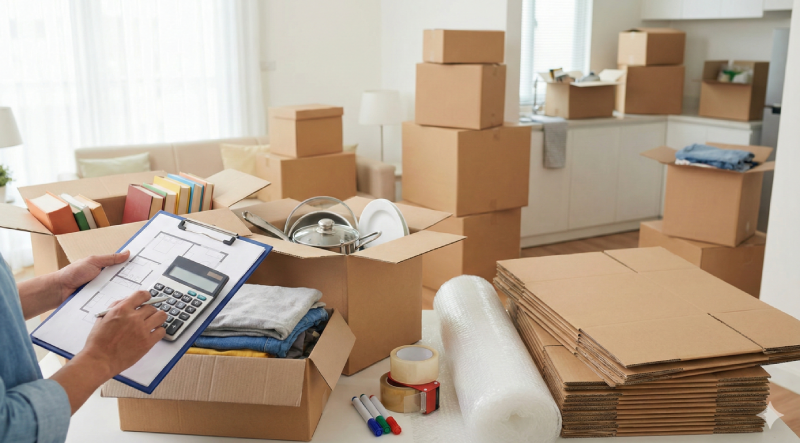
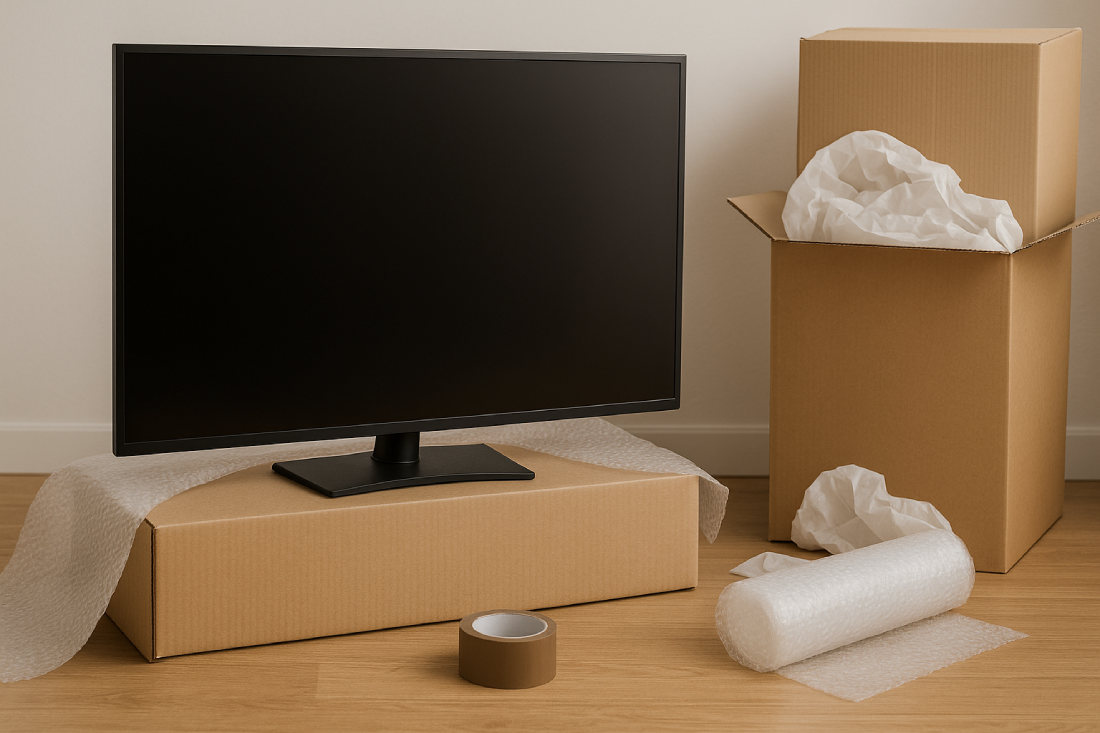
Essential Shoe Packing Supplies Checklist
Gather these supplies before starting your shoe packing process for proper protection and organization.
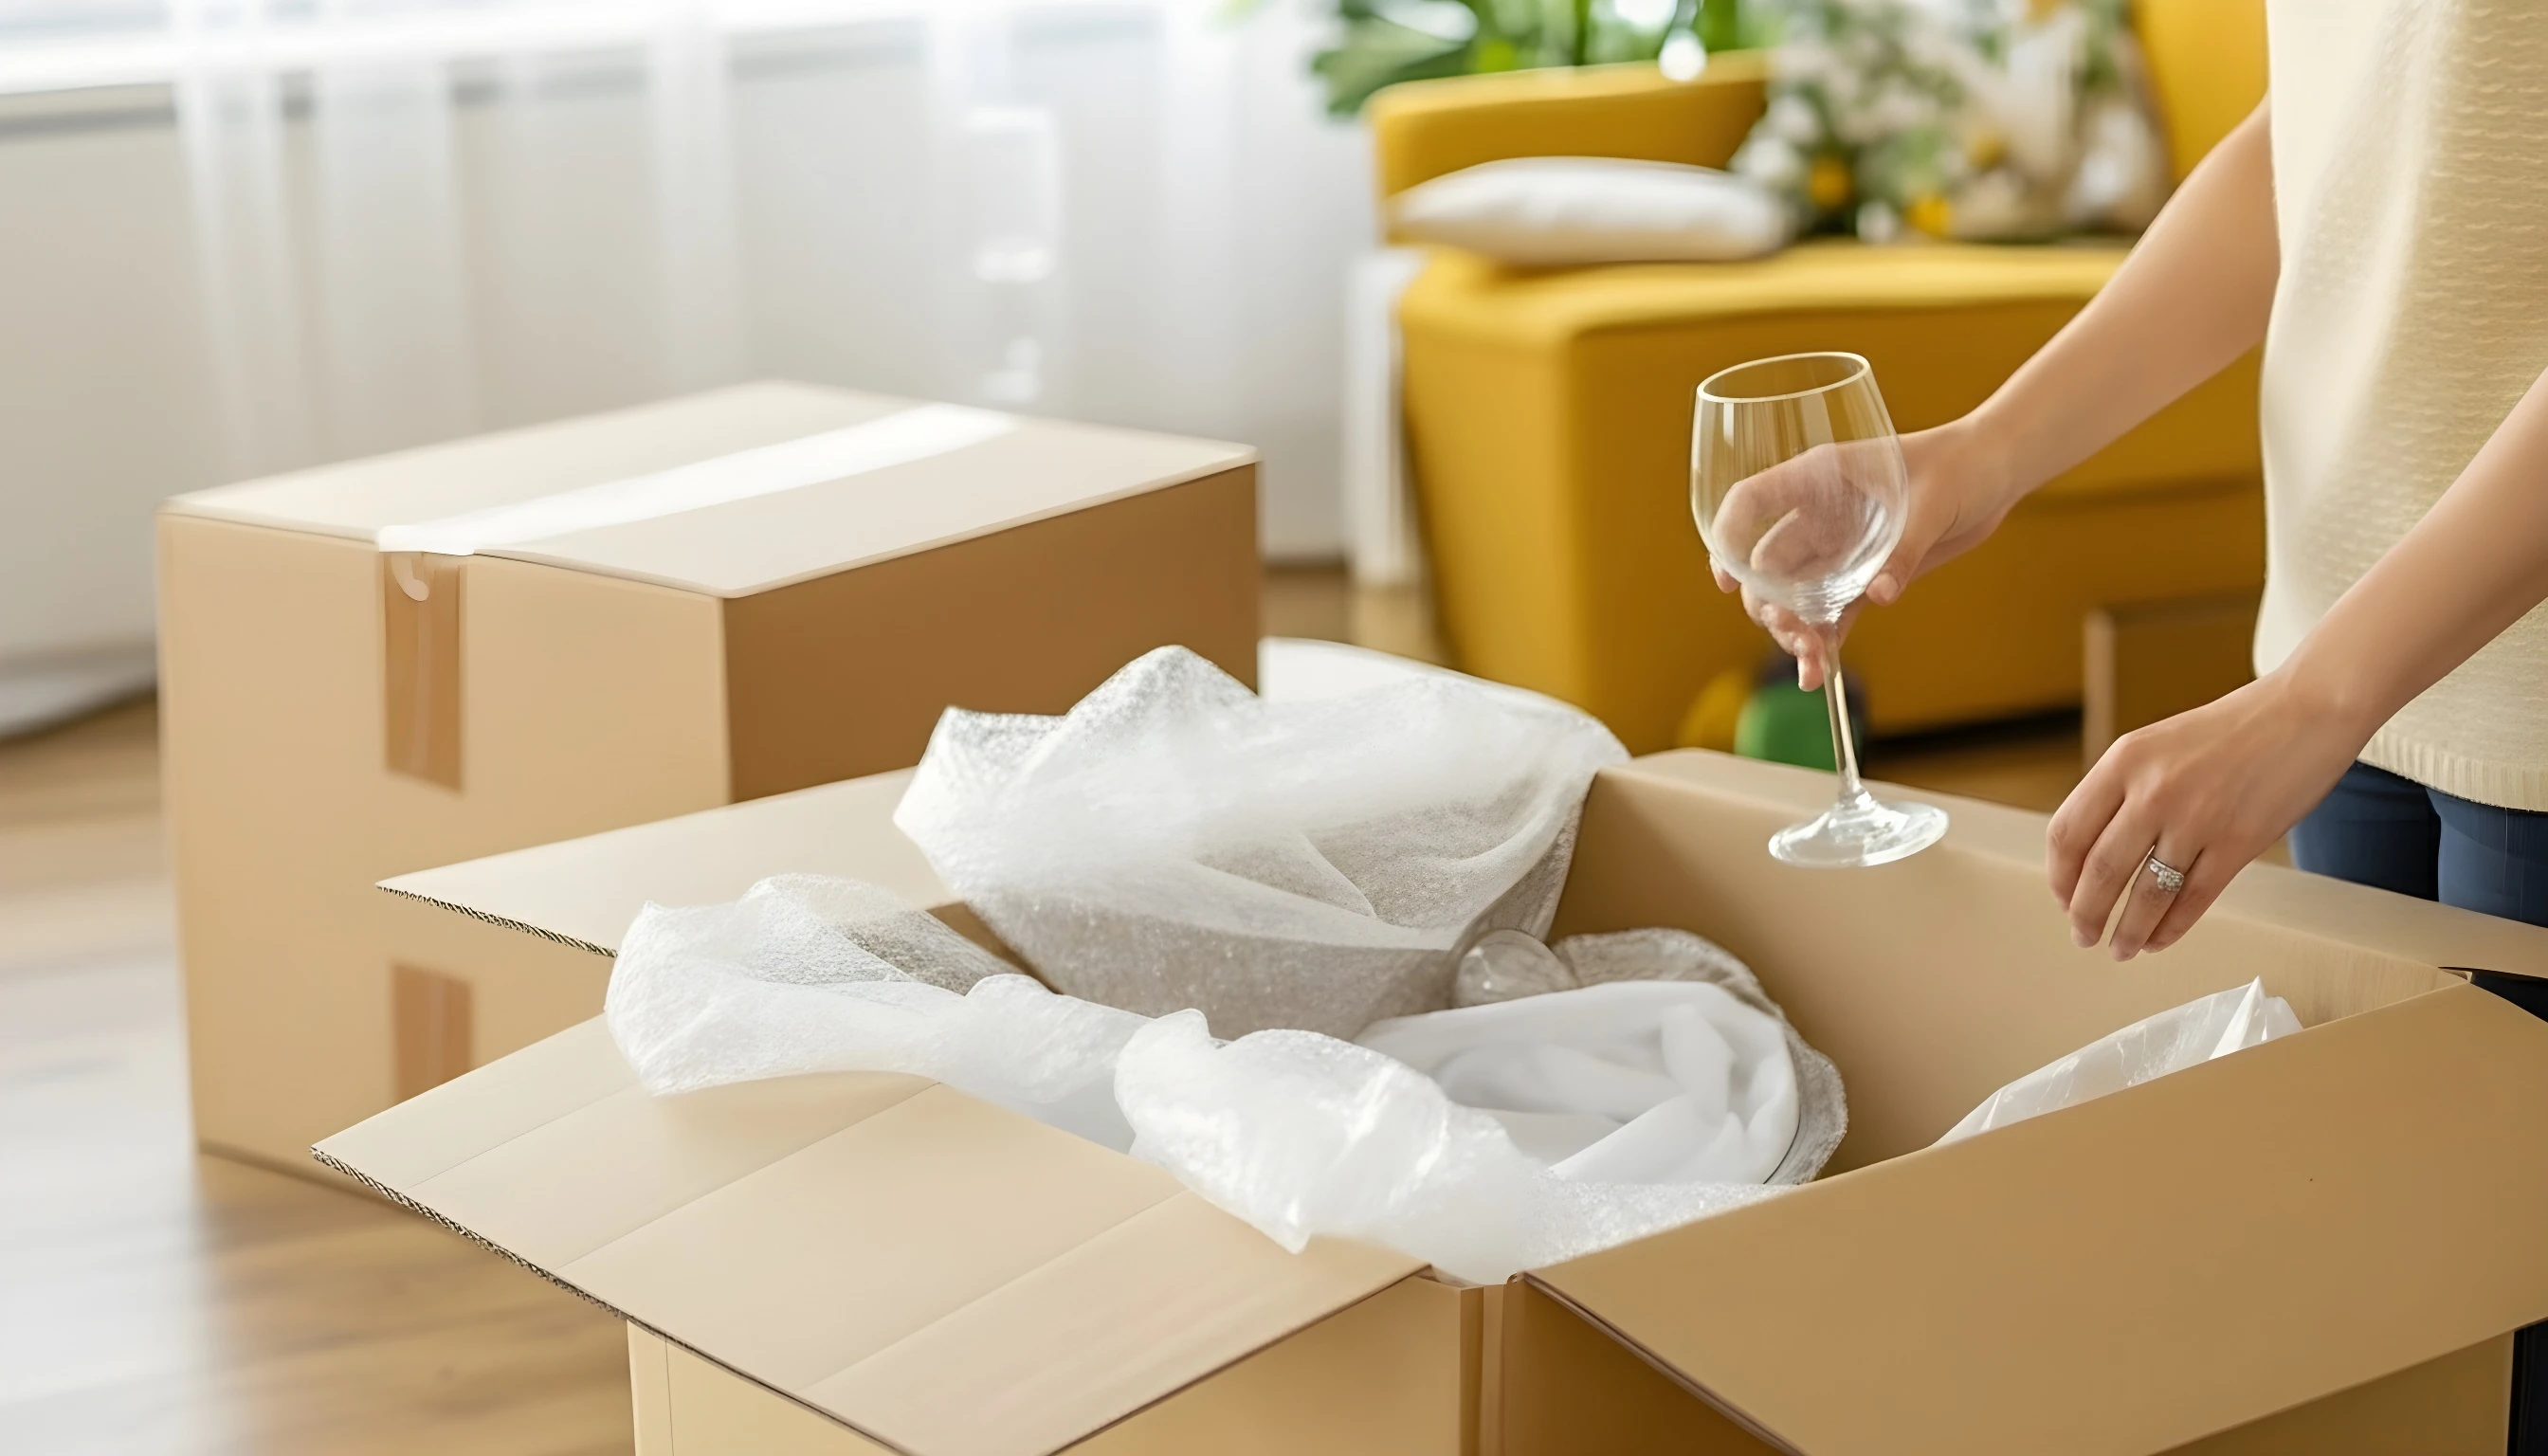
Clean packing paper protects shoes without ink transfer. Avoid newspaper, which stains light-colored materials. Buy 25-pound bundles for $15-20 at moving supply stores or order online. Bubble wrap adds important protection for delicate shoes with embellishments, beading, or thin straps.
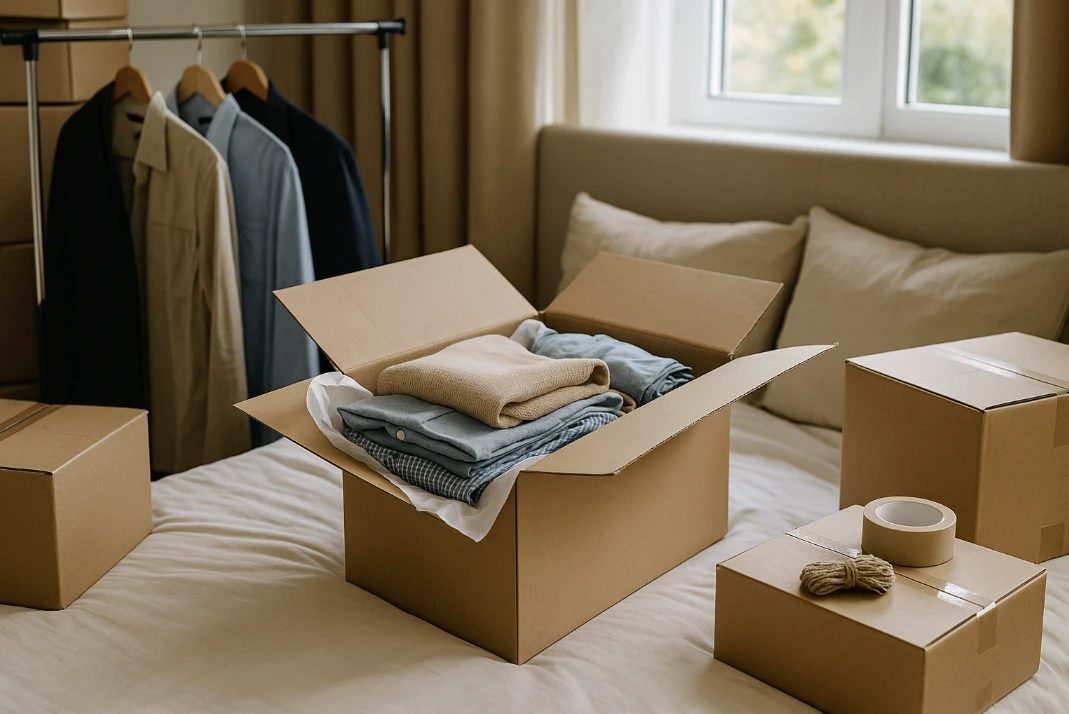
Small and medium moving boxes work better than large ones. Shoes are heavy, and oversized boxes become difficult to lift safely. Original shoe boxes provide the best protection, but shoe bags or pillowcases work as alternatives when original packaging isn't available.
Round out your supplies with packing tape, permanent markers, and labels to keep everything organized. Add cedar balls or dryer sheets for freshness during storage. For long-distance moves or storage, plastic wrap protects against moisture damage. Boot shapers or pool noodles maintain the tall boot structure during transport.
Where to Buy Shoe Packing Supplies on a Budget
Smart shoppers find quality packing supplies without breaking the budget by knowing where to look and when to shop. Major retailers like Home Depot and Lowe's stock moving supplies at competitive prices. U-Haul's box buyback program lets you return unused boxes for full refunds. Start your collection early and check with local businesses eager to offload excess packaging. Here's where to find affordable packing supplies for your shoe collection:
- Discount retailers: Dollar stores carry packing paper, permanent markers, and plastic wrap at 50-70% less than moving supply stores. Online retailers provide bulk discounts for large orders (plan ahead for 5-7 day shipping times).
- Liquor and shoe stores: Visit during slow periods to request shoe-sized boxes with built-in dividers. Liquor boxes work well for organizing flats and sandals without additional materials.
- Household items: Clean socks, t-shirts, and towels stuff shoes just as well as purchased packing paper. Your clothing also works as bubble wrap for cushioning delicate heels and embellished footwear.
- Wine boxes with cardboard dividers: These free boxes create individual compartments perfect for sandals and flats without requiring additional wrapping or separation materials.
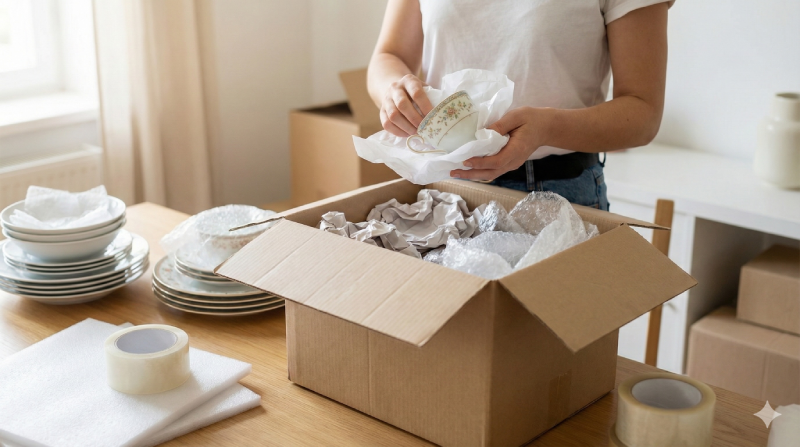
Clean and Prepare Shoes Before Packing
Clean shoes pack better and arrive fresh at your destination. Remove dirt and debris with appropriate cleaners. Use leather conditioner for dress shoes, gentle soap for canvas, and specialized cleaners for suede. Pay attention to soles where dirt hides in grooves. Let shoes dry completely for 24-48 hours before packing to prevent mold and mildew growth during transport.
Address repairs before moving rather than after. Glue loose soles, replace worn heel tips, and fix broken buckles or straps. Moving stress can worsen existing damage, turning minor issues into unusable shoes. Take photos of valuable shoes before packing for insurance documentation, in case damage occurs.
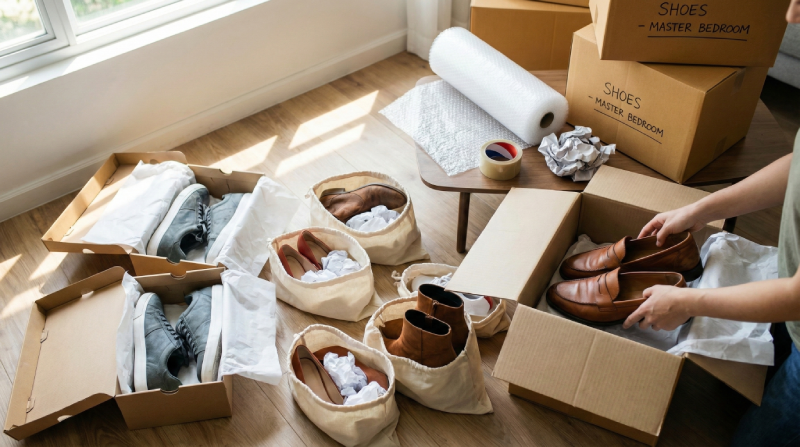
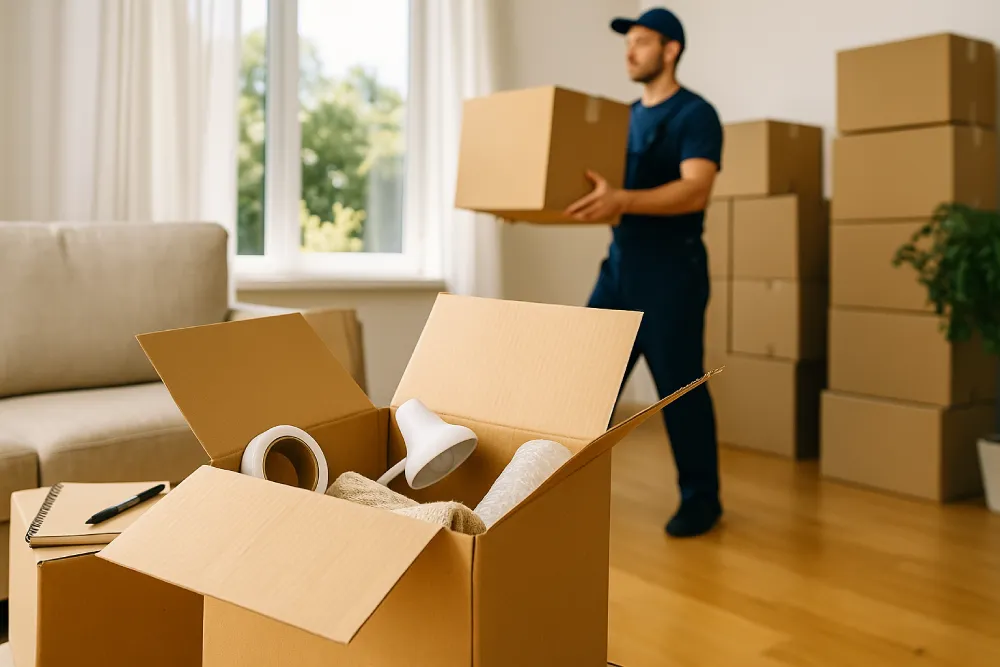
Stuffing Techniques to Maintain Shoe Shape
Proper stuffing prevents crushing and maintains the shoe structure during moving. Crumple clean packing paper into loose balls and fill each shoe completely, paying attention to toe boxes and heel cups. Avoid overstuffing, which stretches materials. Boots require special attention. Use boot shapers, rolled magazines, or pool noodles cut to size for tall styles.
For expensive leather shoes, use cedar shoe trees if you own them. Otherwise, rolled socks work well and serve double duty by saving packing space. Stuff the ankle areas of high-top sneakers and hiking boots to prevent creasing. Place tissue paper between delicate straps to prevent tangling and snagging during transport.
Step-by-Step Shoe Packing Method
Follow this comprehensive step-by-step method to pack your shoes safely and efficiently for moving:
- Step 1: Stuff each shoe completely to maintain shape: Fill toe boxes and heel cups with crumpled packing paper, rolled socks, or tissue paper. Avoid overstuffing, which can stretch materials, but make sure shoes hold their form during transport.
- Step 2: Wrap each shoe individually using the diagonal roll method: Place one stuffed shoe on the corner of flat packing paper, roll tightly while tucking in the sides, and secure with tape if needed. For expensive or delicate shoes, add a second layer of bubble wrap over the paper.
- Step 3: Pair shoes together after wrapping: Place wrapped shoes sole-to-sole or heel-to-toe depending on their shape. Tie laces together for sneakers or use rubber bands to keep pairs matched throughout the move.
- Step 4: Group wrapped shoes by weight and type before boxing: Keep dress shoes together, athletic shoes in another group, and boots separately to prevent heavy work boots from crushing lighter shoes during transport. Mark any shoes needing special handling with colored tape or stickers for quick identification.
- Step 5: Prepare boxes with reinforced bottoms: Add extra tape to box bottoms in an H-pattern for heavy shoe loads. Line boxes with packing paper for additional cushioning and moisture protection.
- Step 6: Load boxes with heaviest shoes on bottom and lightest on top: Create a stable base by positioning boots and work shoes heel-to-toe. Add medium-weight sneakers and loafers in the middle layer. Reserve the top for sandals, flats, and slippers that won't crush items below.
- Step 7: Fill empty spaces with soft items to stop shifting: Use socks, belts, or scarves as padding between shoes. Aim for boxes weighing 30-40 pounds maximum for safe handling. Add final cushioning on top before closing boxes.
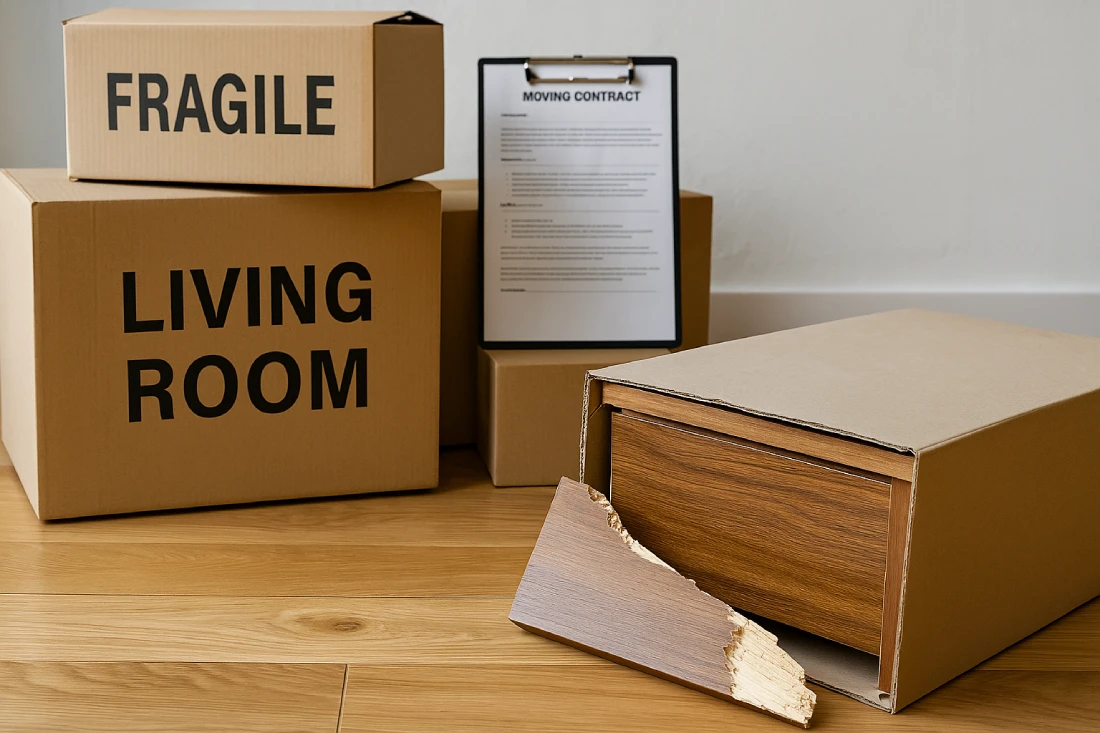
- Step 8: Seal and label boxes clearly: Secure boxes with quality packing tape across all seams. Label each box with "SHOES," room destination, and handling instructions like "FRAGILE" for delicate footwear. Number boxes and keep an inventory list for easy unpacking. Understanding how to pack a moving truck properly helps position your shoe boxes correctly to prevent crushing during transport.
Special Techniques for Dress Shoes, Heels, and Boots
Dress shoes and heels need extra care due to their structured shapes and delicate materials. Wrap each shoe individually in soft cloth or tissue before paper wrapping. Place heel caps on stilettos to protect the points from breaking. Store dress shoes in individual boxes or cloth bags when possible. Position heels facing opposite directions to save space while protecting heel structures.
Boots require different handling based on height and material. Knee-high boots need support throughout the shaft; use boot shapers or wine bottles wrapped in paper. Lay tall boots flat in wardrobe boxes if available, or pack horizontally in regular boxes. Work boots and hiking boots can handle more pressure, but still benefit from stuffing and individual wrapping. Leather boots need conditioning before packing to prevent cracking during transport.
Best Methods for Sneakers, Sandals, and Flats
Sneakers pack easily but still need protection from crushing and color transfer. Tie laces together to keep pairs matched, then stuff and wrap individually. Pack high-tops with extra ankle support to maintain shape. Athletic shoes with features like carbon plates or air cushioning need bubble wrap for protection. Clean white sneakers thoroughly and wrap them in plastic to prevent staining from other items.
Sandals and flats require less space but need organization to prevent tangling and scratching. Stack flat sandals with paper between each pair. Wrap sandals with embellishments individually to protect decorative elements. Use small boxes or shoe organizers for multiple pairs of flats. Roll soft ballet flats and slip them into socks or shoe bags to save space while maintaining shape.
Space-Saving Packing Hacks
Save truck space and protect fragile items by using shoes as packing containers and nesting smaller belongings inside original shoe boxes. Your footwear collection becomes functional moving material instead of wasted space.
The Russian Doll Method for Shoe Boxes
Use original shoe boxes efficiently by nesting smaller items inside. After placing shoes in their boxes, fill the remaining space with socks, underwear, or accessories. Stack shoe boxes inside larger moving boxes, creating organized layers. This method protects shoes while saving space. Number boxes and create a master list showing contents for easy unpacking at your destination.
Without original boxes, create a similar system using small boxes from liquor stores or online purchases. Uniform box sizes stack better and waste less space than mixing various sizes. Clear plastic shoe boxes offer visibility and stack well, but cost more than cardboard alternatives.
Using Shoes as Packing Material for Other Items
Sturdy shoes work as protective containers for fragile items. Wrap small breakables in bubble wrap and tuck them inside boots or high-top sneakers. Work boots protect jewelry boxes, small electronics, or valuable collectibles. This technique saves space while providing good protection for delicate items. Always wrap items separately before placing them inside shoes to prevent damage to both items.
Clean athletic shoes work well for protecting holiday ornaments, small picture frames, or bathroom items. Seal items completely in plastic bags to prevent any leakage. Mark these shoes clearly so movers handle boxes carefully and you remember special contents during unpacking.
Common Shoe Packing Mistakes to Avoid
Most shoe packing mistakes come from using the wrong materials, poor organization, or ignoring how boxes shift during transport. Newspaper ink bleeds onto light-colored leather, overstuffed boxes collapse under their own weight, and mixing winter boots with summer sandals creates chaos at unpacking time. Here are the most common errors and how to avoid them:
- Never use newspaper or colored tissue paper for wrapping shoes: Newspaper ink transfers permanently onto light-colored materials when exposed to heat or humidity during transport. Colored tissue paper can bleed dye when moisture is present. Stick to clean, white packing paper for all shoe wrapping.
- Keep dirty and clean shoes in separate boxes to prevent odor and dirt transfer: Work boots caked with mud contaminate dress shoes during transport, creating extra cleaning work at your destination. Clean all shoes before packing or use specific boxes for work footwear.
- Avoid overpacking boxes beyond 40 pounds to prevent breakage and handling injuries: Heavy shoe boxes strain box seams, break during lifting, and become hard for movers to handle safely. Reinforce box bottoms with H-pattern tape and distribute weight across multiple containers.
- Pack out-of-season shoes separately and label them clearly for efficient unpacking: Snow boots serve no purpose right after a July move, and sandals stay boxed through winter relocations. Store seasonal boxes in less accessible areas until the appropriate weather arrives.
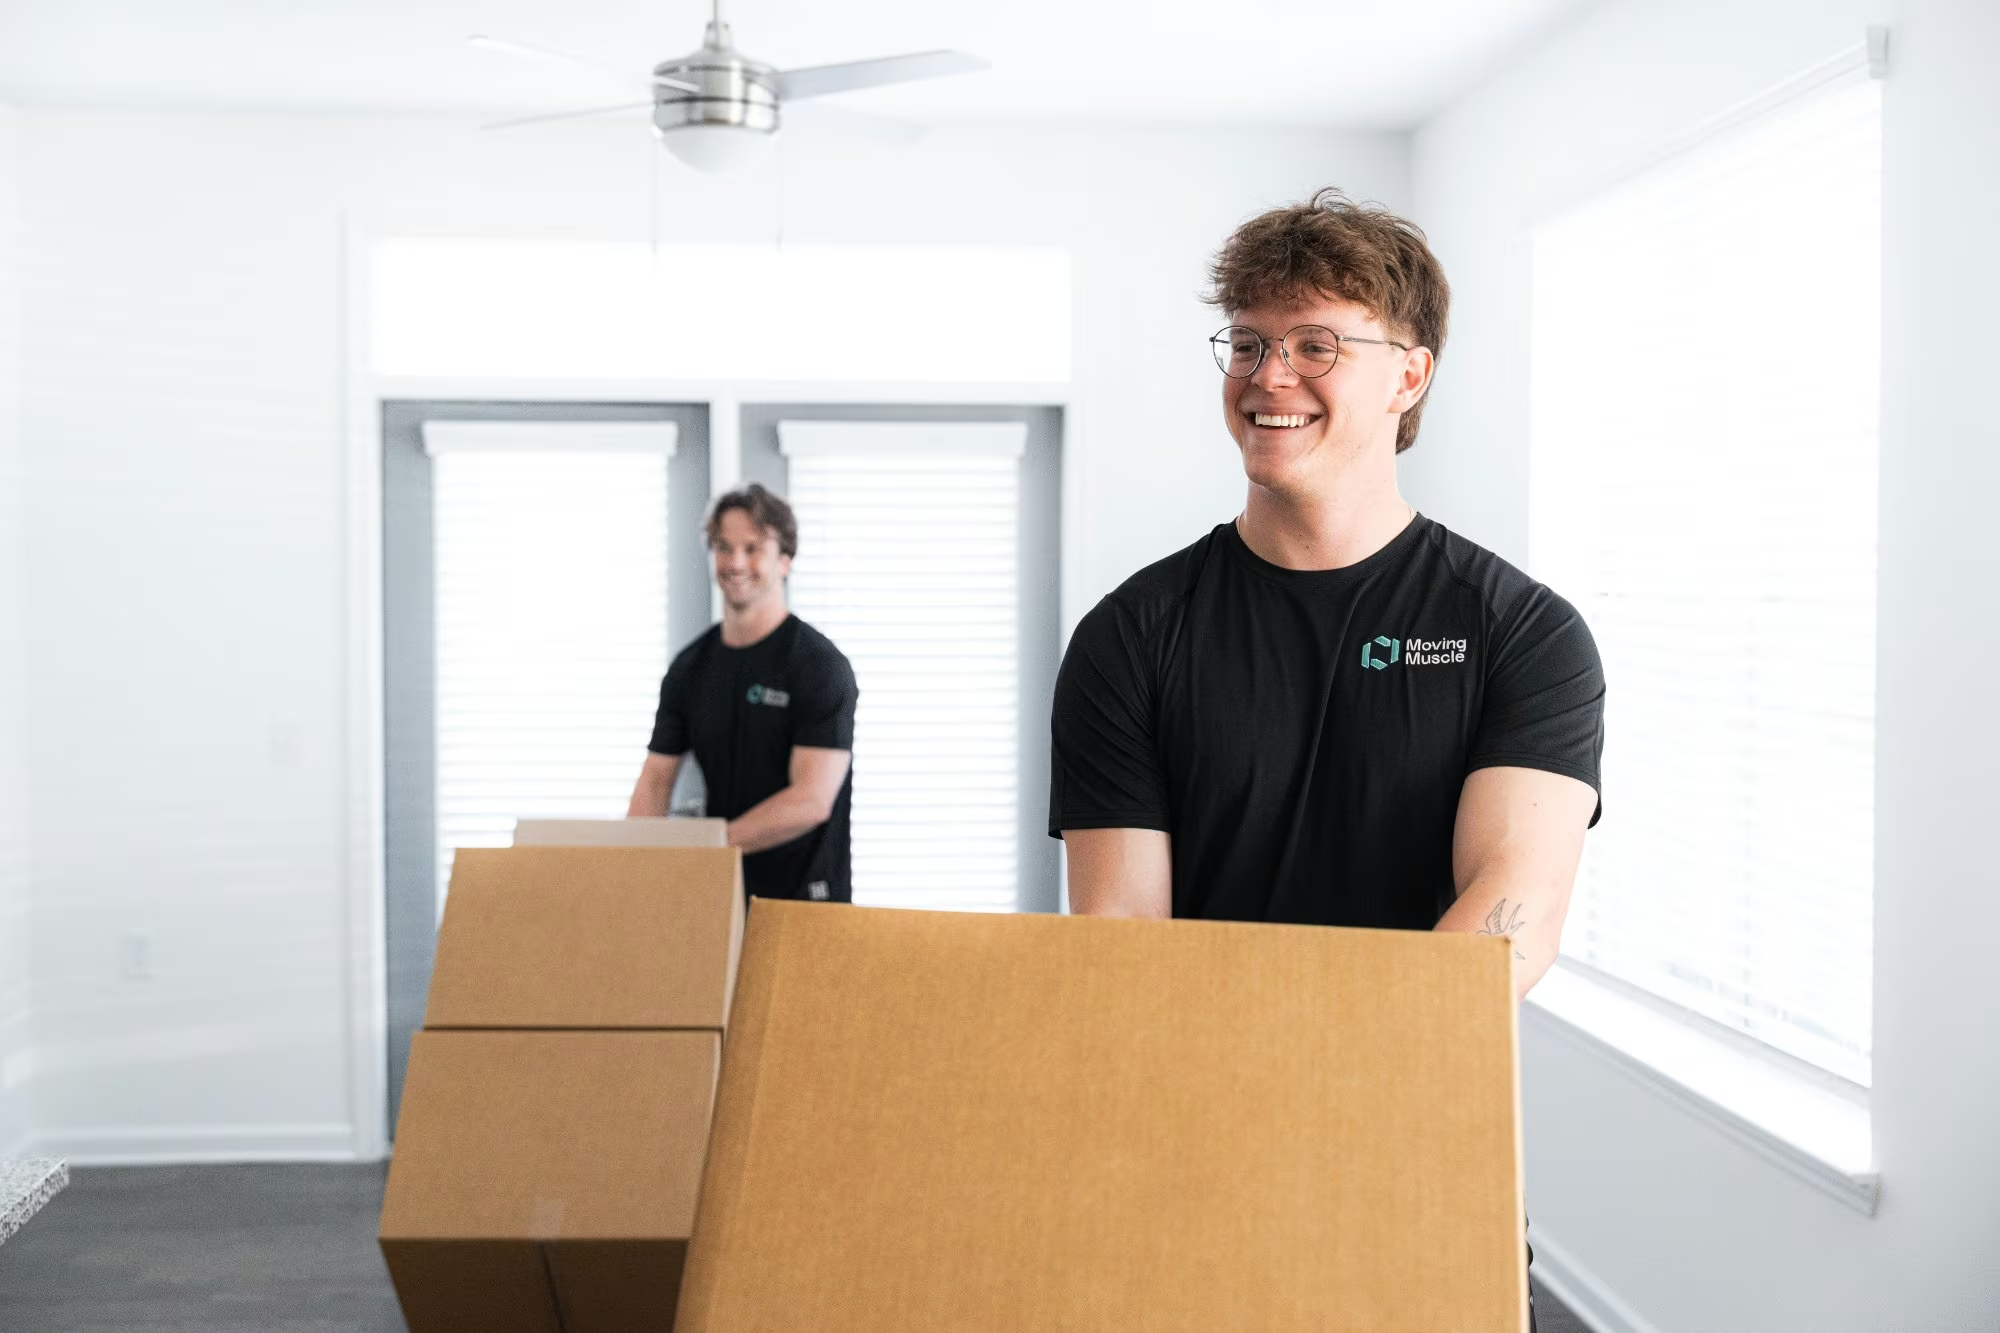
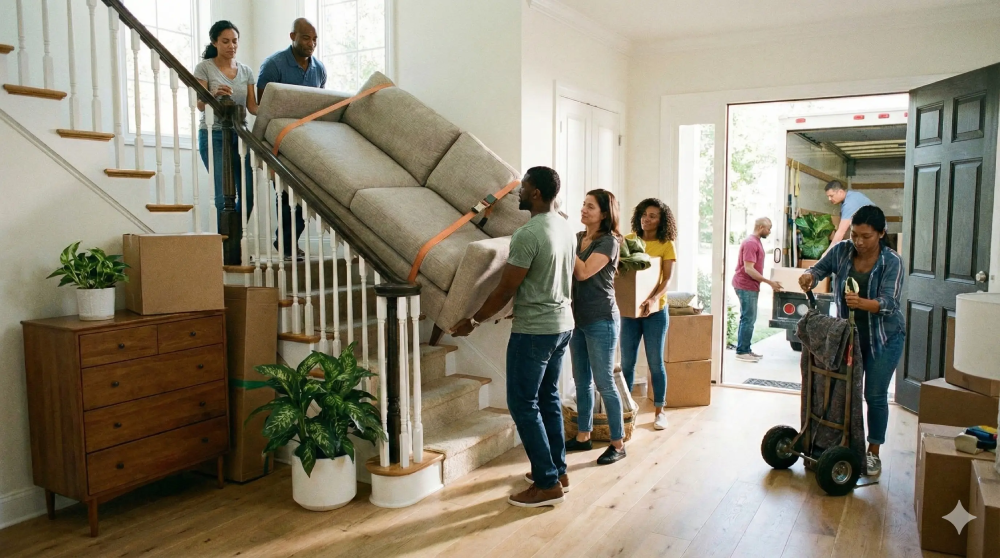
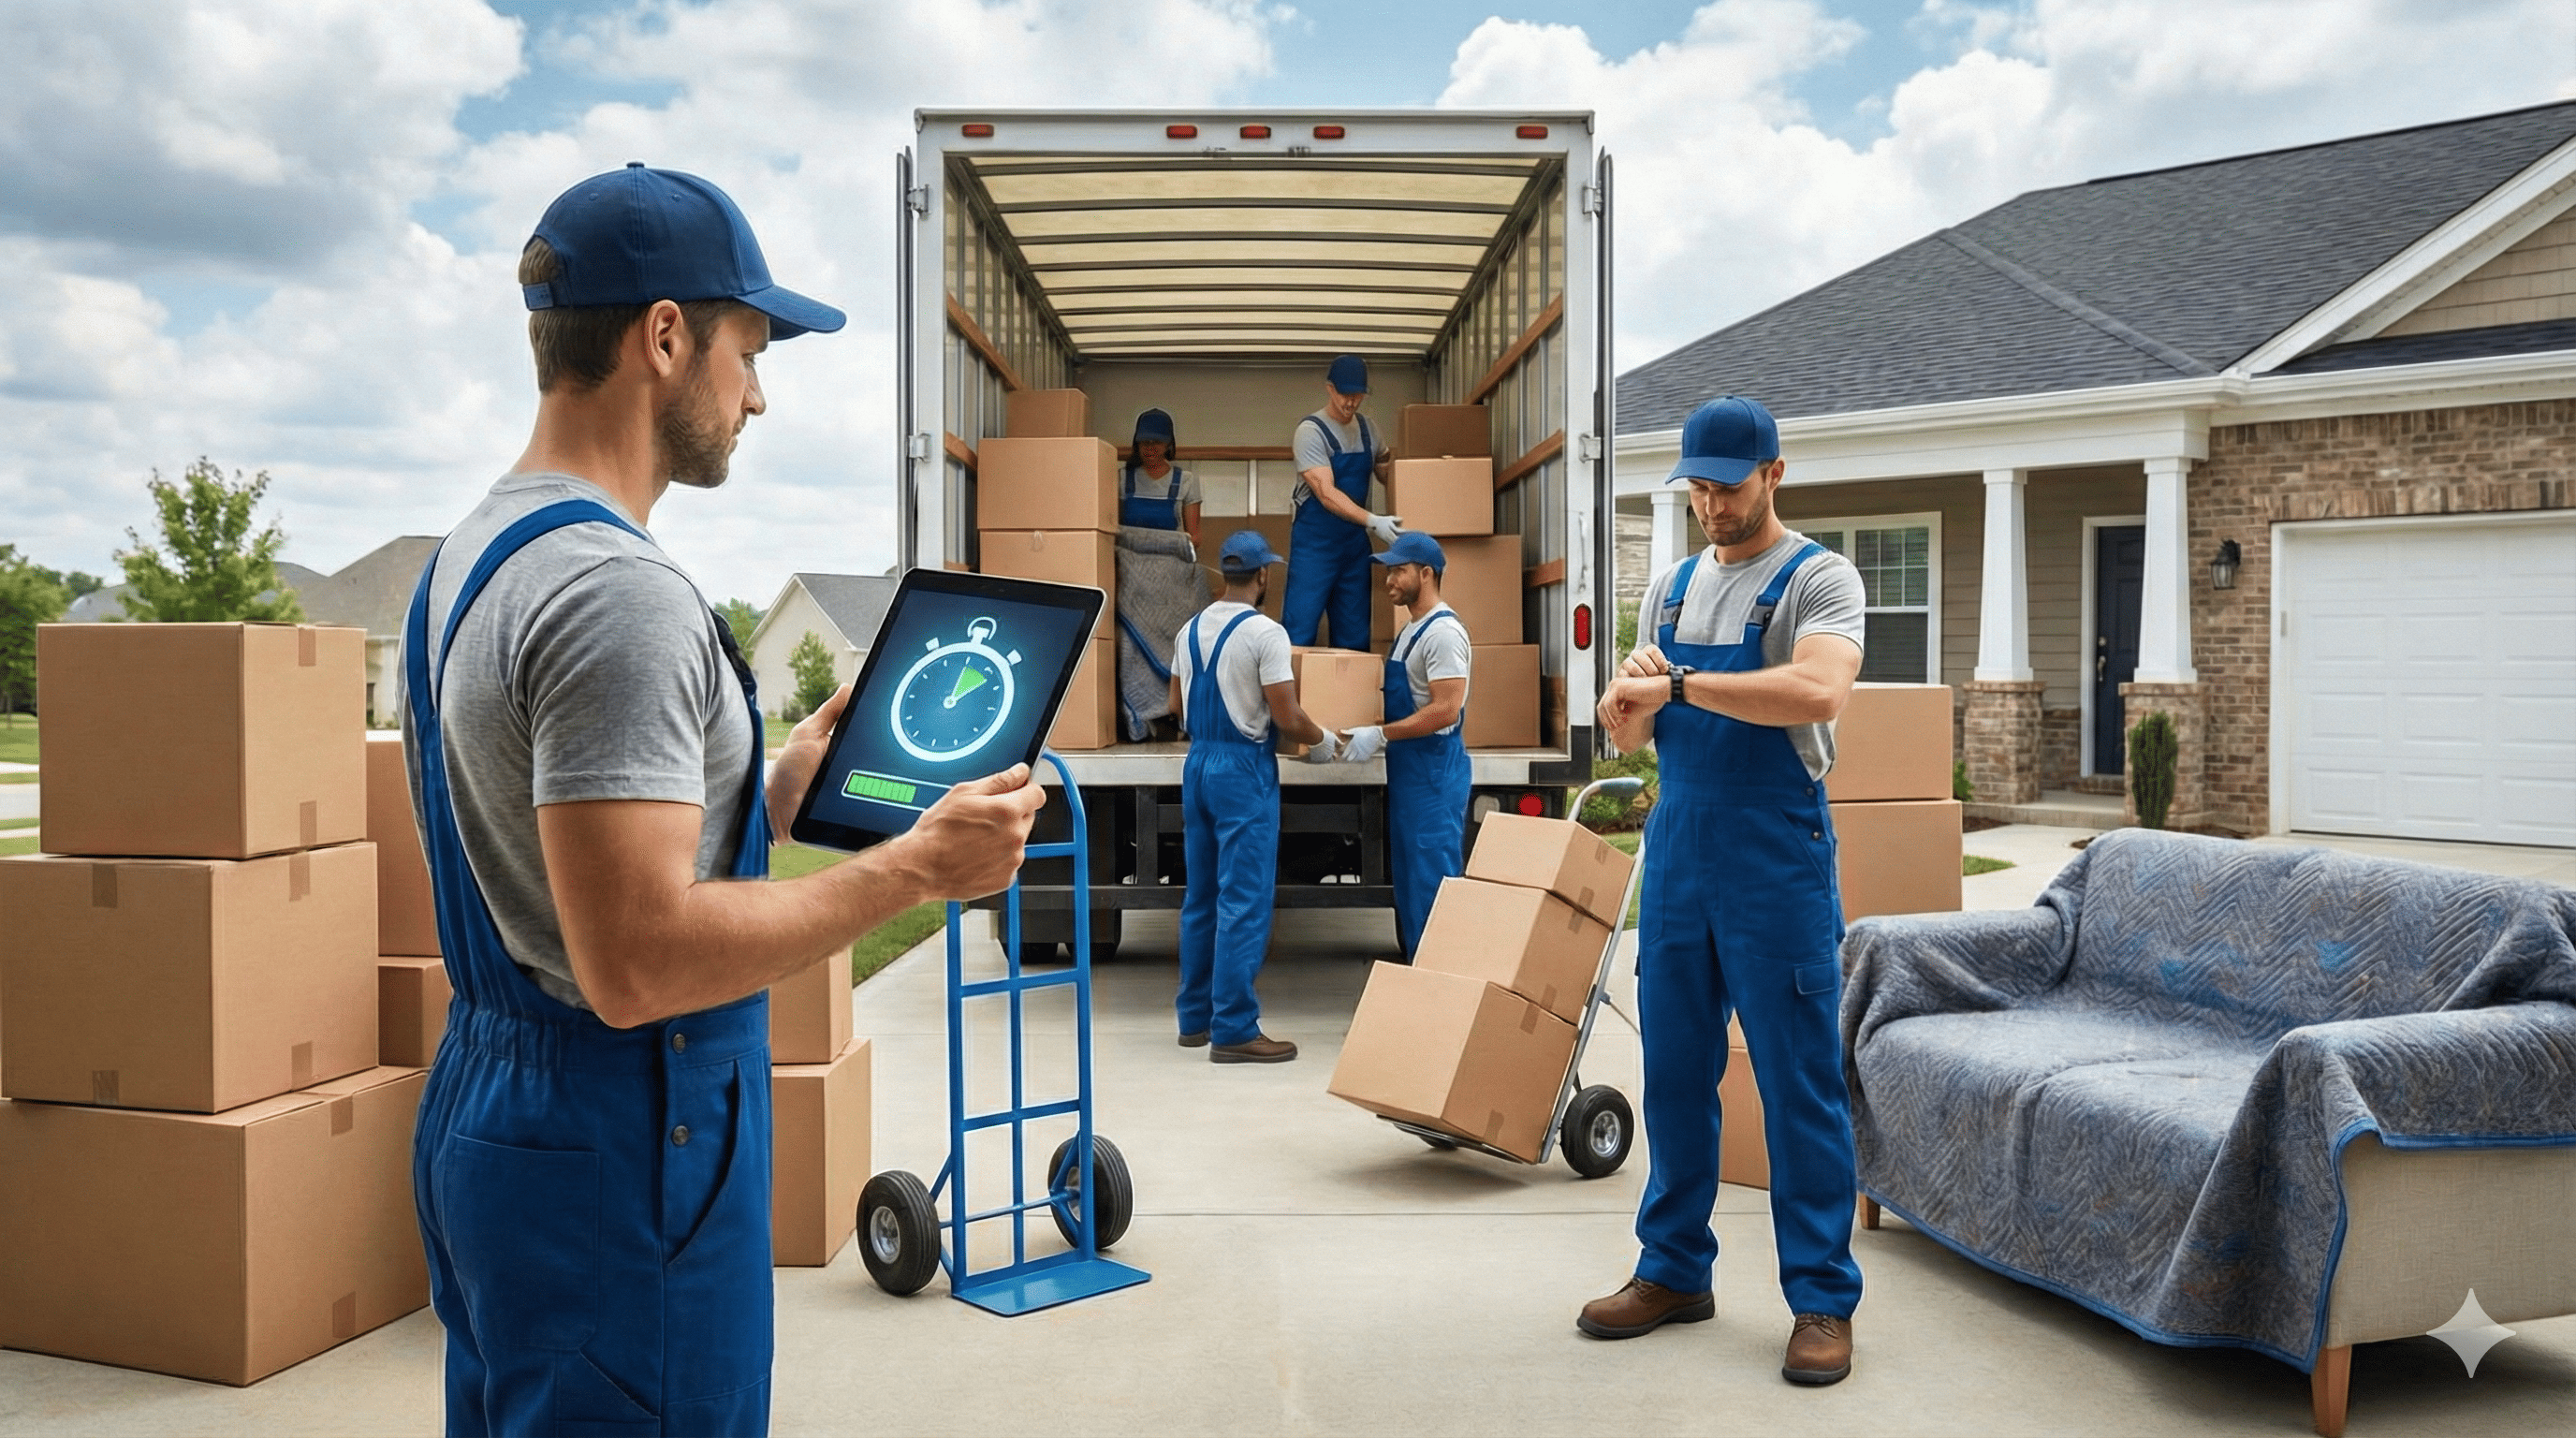
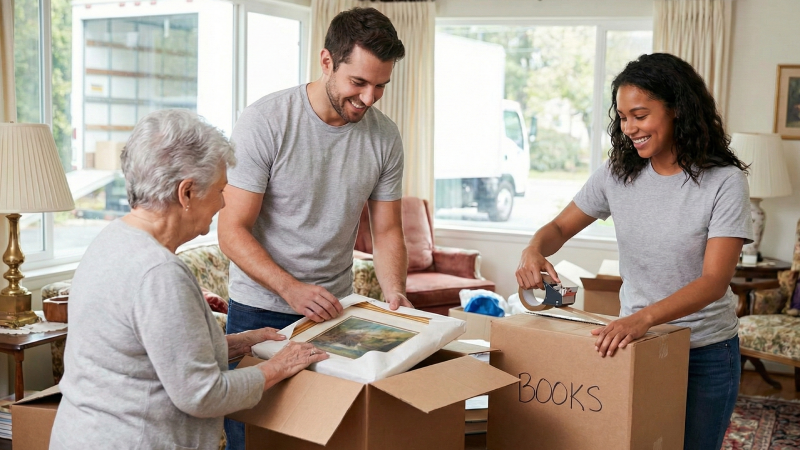
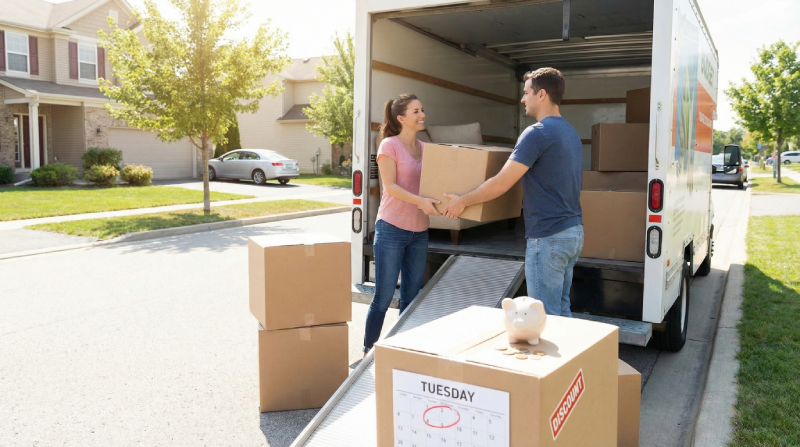
Should I Hire Help to Pack and Move Shoes?
Most movers face a choice between three packing approaches, each with different costs and control levels that impact both budget and shoe safety. DIY packing offers the most control and lowest material costs but demands proper technique to prevent common mistakes like crushed heels or moisture damage. Many households combine self-packing with professional loading help, getting expert handling without the high price of full-service moves. Here's how each option breaks down in terms of cost, effort, and protection:
- DIY packing requires $50-100 in materials and 4-6 hours of careful work: You'll need quality boxes, packing paper, tape, and bubble wrap for delicate shoes. This approach gives you complete control over wrapping technique and organization but requires attention to proper stuffing, weight distribution, and moisture protection to avoid damage during transport.
- Labor-only movers cost around $200 for loading services with two workers for two hours: At roughly $50 per hour per person, this option lets you pack shoes yourself while professionals handle truck loading, weight distribution, and secure stacking. This works well for large collections, multi-story homes, or when you need equipment like dollies and straps.
- Full-service packing runs $500-1,500 for entire household moves: Professional packers handle everything from wrapping to loading. Shoes represent a small portion of total service costs. This option removes physical effort and time investment but costs much more than self-packing.
- The right choice depends on collection size, physical limitations, and budget: Understanding the tradeoffs between moving yourself vs hiring movers helps you pick the right assistance level. Consider challenging factors like narrow staircases, third-floor walkups, or valuable shoe collections when deciding if professional help is worth the added cost.
Smart Strategies to Keep Your Packed Shoes Fresh and Protected
Successful shoe packing depends on understanding how transport conditions affect different materials and structures. Leather needs conditioning to prevent cracking from temperature changes. Suede and fabric shoes need moisture barriers to avoid mildew during humid moves. The weight distribution inside your boxes matters more than most people think. A single heavy boot placed carelessly can crush three pairs of sandals beneath it, turning a small packing mistake into a costly replacement. Here's how to protect your footwear investment with proven techniques:
- Clean and condition all shoes before packing to prevent permanent damage: Leather shoes packed dirty develop stains that set during transport. Unconditioned leather cracks when exposed to temperature changes in moving trucks. Apply leather conditioner 24 hours before packing and let shoes dry completely.
- Stuff each shoe completely to maintain structure during transit: Use crumpled packing paper, rolled socks, or cedar shoe trees to fill toe boxes and heel cups. Boots need additional support. Insert pool noodles, rolled magazines, or boot shapers to prevent shaft collapse.
- Control moisture with silica gel packets or cedar balls in each box: Moving trucks experience humidity spikes that promote mildew growth, especially during summer moves or multi-day transport. Place 2-3 silica packets per box or add cedar balls that absorb moisture while naturally keeping insects away.
- Load boxes with heaviest shoes on bottom and softest on top: Position work boots and heavy dress shoes heel-to-toe as the foundation layer. Add medium-weight sneakers in the middle. Reserve the top third for sandals and flats. Fill all gaps with socks or soft items to stop shifting. If you're packing shoes yourself but need help with the heavy lifting and truck loading, professional moving labor helps your carefully packed boxes arrive damage-free.
Your Shoe Packing Success Starts Now
Protecting your shoe investment during moving requires preparation, proper supplies, and proven techniques. Start decluttering early, gather quality materials, and pack systematically for the best results. Your shoes will arrive safely at your new home, ready to wear.
Frequently Asked Questions
How many pairs of shoes fit in a standard moving box?
A 16"x12"x12" box holds 6-10 pairs, depending on shoe size and type. Medium boxes accommodate 8-12 pairs of average-sized shoes.
Should I keep shoes in their original boxes when moving?
Yes, original boxes provide optimal protection, but wrap them in paper first and reinforce with tape if the boxes are worn.
Can I pack shoes with clothes to save space?
Pack only with clean, soft items like socks or t-shirts. Avoid anything heavy or potentially staining. Learn more about how to pack clothes for moving for better efficiency.
What's the best way to pack shoes without boxes?
Wrap each shoe individually in paper, use cloth bags or pillowcases, and pack in small moving boxes with proper cushioning.
How far in advance should I start packing shoes?
Begin decluttering 4 weeks before moving and pack non-essential shoes 2 weeks ahead, keeping daily shoes until moving day.
Do professional movers pack shoes differently?
Most movers follow similar wrapping and boxing techniques, but have experience with weight distribution and securing loads.
How do I prevent leather shoes from cracking during a move?
Condition leather shoes before packing, stuff properly to maintain shape, and avoid plastic wrapping that traps moisture.


.webp)